What We've Included
When to Plant | How to Plant | Where to Plant | After Care | Common Issues |
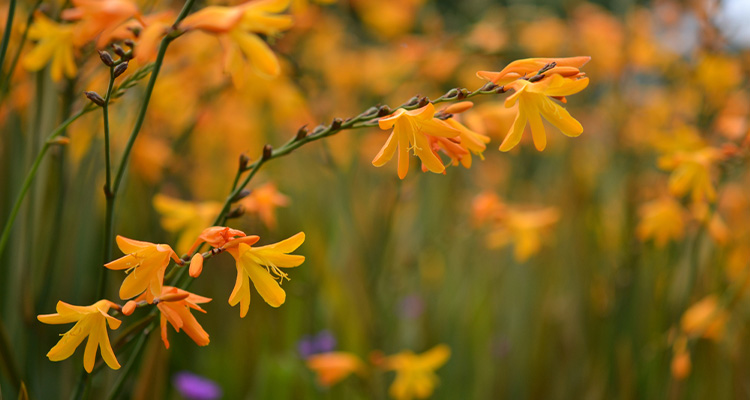
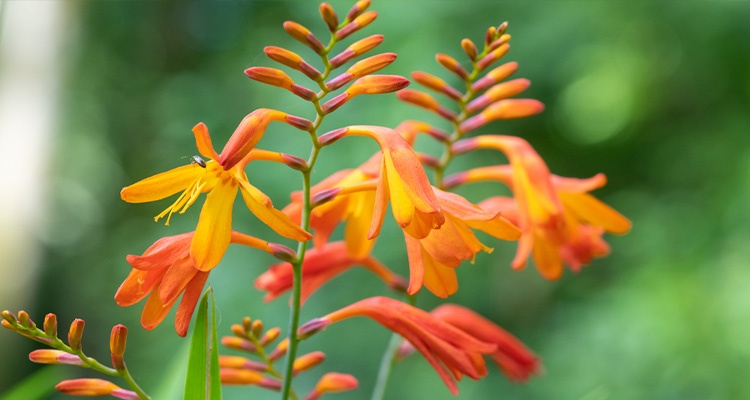
When will they flower | Inspiration
When to Plant
Our Crocosmia bulbs/corms will be delivered fresh and healthy. They should be firm, not soft. Some may arrive with slight mould patches, but this is completely normal and can be brushed off. If you suspect that your bulbs/corms are faulty, do not hesitate to get in touch.
For the best results, plant them in spring, usually from April to June. Crocosmia corms can be grown directly outdoors into borders and containers, ensuring the soil is well-drained and moist, enriched with garden compost or well-rotted manure.
How to Plant
Borders
1. Dig a hole that’s wide enough to fit the bulb/corm comfortably, and at least 2-3 times their depth. If planting in groups, dig a trench instead of individual holes at the same depth.
2. You can add bonemeal and horticultural grit (or spent compost) to the bottom of the hole. This will help them to grow healthily.
3. Pop each bulb/corm into their holes, pointed side up. Space them 10-20cm apart.
4. Cover with soil and pat down.
Containers
1. Fill the pot with any multi-purpose compost until you’ve reached its halfway point.
2. As a rule of thumb, bulbs and corms should be planted about 20cm from the top of the pot.
3. Place your bulbs on top of the soil, about 5cm apart.
4. Cover with the compost to the top of the pot. Break up any lumps as you go.
5. Gently press the soil so that it’s nice and flat.
6. You can place your pot on feet to allow the moisture from the pot to escape more freely.
Where to Plant
Crocosmias can be grown in many soil types, as long as they are placed somewhere warm and sunny. The soil should also be well-drained, so prepare the planting site well beforehand. Borders are a perfect match for crocosmias, adding elegance to any theme you may have.
After Care
When to water
Give Crocosmia regular watering once they’re settling in. After they’ve established, they’ll only need watering when their soil is dry.
What to do once they have finished blooming
Cut back spent foliage in autumn when they’ve finished blooming. However, leaving old foliage in its place over winter can provide wildlife with shelter.
Overwintering
Crocosmias can be left in place over winter. Simply add a thick layer of mulch on top of their soil to insulate the bulbs while it’s cold.
Common Issues and How to Solve Them
Poor flowering:
Crocosmias may struggle to bloom if they’re overcrowded. Separate large clumps in spring and divide them, replanting them elsewhere in the garden or throwing them out.
Vigorous and unwanted spreading:
Some varieties (like C. x crocosmiiflora) can spread vigorously and will need controlling. Dig up unwanted plants under the corms and they should lift right out. Do not add these varieties to a compost heap, as they could survive the composting process and continue to spread when you use it around the garden.
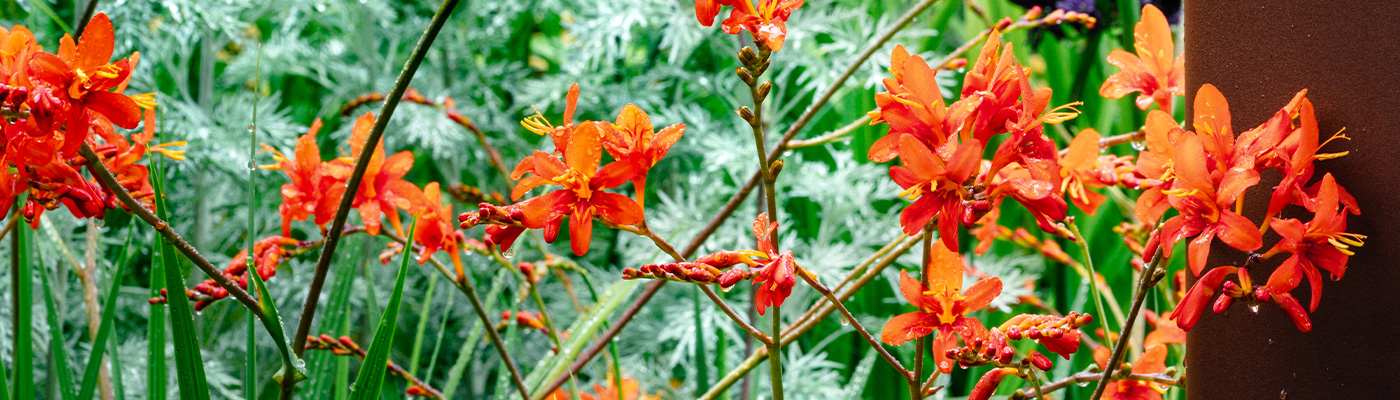
When Will They Flower?
Most crocosmia will flower from late summer and into early autumn (often from August to October). This may vary depending on the variety you have in the garden, and the weather conditions where you live. For example, those who live in northern areas of the country might see their crocosmia flower later than southern areas.
Ready to Shop?
Take a look at our helpful blogs