How Supplied
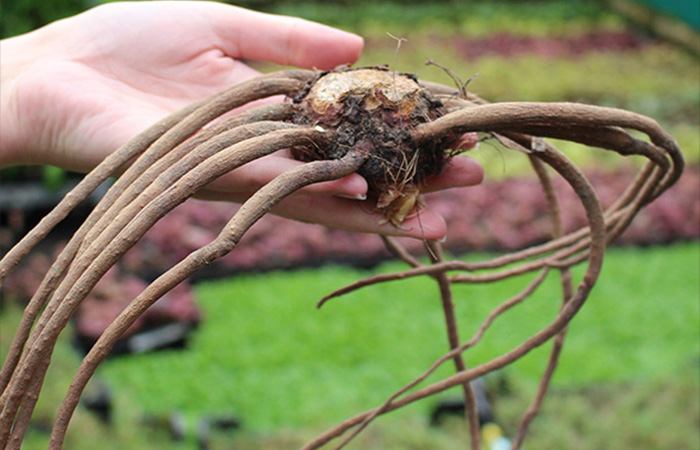
Our bulbs will be delivered fresh and healthy. There should be firm, not soft. Some bulbs may arrive with slight mould patches, but this is completely normal and can be brushed off. If you suspect that your bulbs are faulty, do not hesitate to get in touch.
Once your bulbs arrive, take them out of their packaging (including bags) and lay them out on newspaper so they can breathe. This is so they don’t excessively sweat in their containers, ruining the bulbs. Leave somewhere cool and dry until it’s time to plant them.
What We've Included
When to Plant | Where to Plant | How to Plant | After Care |
Common Issues | When will they flower | Inspiration
When to Plant
Eremurus bulbs can be planted from late summer (August-September) through to early Spring (January-February). Although they’ll fair well when planted in Jan or Feb, we recommend getting them in the ground in the autumn months as the soil will be much more amenable.
Where to Plant
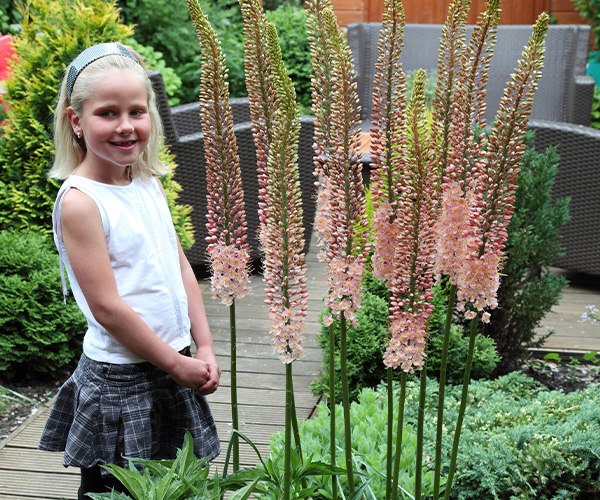
Position your Foxtail Lilies in both areas that reach lots of sun and in well-drained soil. Eremurus will thrive in the back of a border, where they will tower above your shorter blooms and plants with ease. Make sure they’re not crowded, as they don’t do well in busy allotments.
How to Plant
To see the best results from your Eremurus bulbs, follow these easy-to-follow planting instructions.
Borders
1. Try and plant Eremurus bulbs as soon as they arrive in Autumn
2. Soak them for at least 2 hours in a tub of water before planting
3. Dig quite a wide hole that’s just about 15-20cm deep and wider than the bulb
4. Add Alpine grit to the bottom of the hole. This will help with drainage.
5. Pop the bulb in the middle of the hole and cover it till it’s just below the surface.
6. If planting in groups, space each bulb 30-60cm apart.
Containers
Eremurus, in theory, can be planted in containers. However, you’ll need a very large container. Ensure it’s about 22cm tall, 50cm wide and has good drainage. We advise planting just one Eremurus bulb in your pot as a statement piece and pairing it with some companion plants – perhaps some summer bedding?
1. Fill your pot ¾ of the way with any multi-purpose compost.
2. Place your bulb on top of the soil on a bed of Alpine or horticultural grit.
3. Cover with the compost to the top of the pot. Make sure the bulb is just below the soil.
4. Gently press the soil so that it’s nice and flat.
5. Make sure you place your pot on feet to allow the moisture from the pot to escape.
Aftercare
When to water
If the soil is moist, there’s no need to water these flowers too often. As the spring season in Britain is usually quite damp, the rain will water them for you!
If we’re having an abnormally dry season, especially during the summer, then you can water them once the soil feels dry but be careful not to waterlog the soil as they can get damaged by excessive watering.
What to do once they’ve finished blooming
Leave the foliage to fully die back before cutting. This will allow the bulb to soak up enough energy for the following year, helping it to grow into a healthy new plant.
However, you can cut the main flower stalk down to the base once they’ve finished flowering if you prefer to keep a tidy display.
Storing tips
Eremurus can naturalise and might need dividing every 3-4 years. If you’re never lifted an Eremurus plant before, then here’s how.
1. Wait until the plant has died down and has reached a straw colour (often yellow).
2. Dig up the area they’re planted gently. Try not to damage the bulb in the process.
3. Brush off any remnants of soil and dirt gently and divide them.
4. Leave to dry on a tray for 24 hours before storing so they don’t grow mould and rot. Store in a cool dry room until ready to replant in September.
If you prefer, you could also simply add a layer of mulch over them after cutting them back in autumn to protect them from frosts.
Deadheading
Deadheading can help redirect the plant's energy into creating a new flower once the other one has wilted. It also helps to keep the flower bed looking tidy and uniform whilst the others are still in bloom. Simply cut the spent flower with clean shears, just above the leaves.
Common Issues and How to Solve Them
Slugs and snails absolutely love Eremurus plants. Unfortunately, their nibbles will damage the plant and stop it from growing to its full potential. To stop them from reaching them, pop some deterrents on the top of the soil. This includes rough or sharp mulches, eggshells, or sharp grit. You could also pop some copper rings around the base of the plant which will also help deter them from climbing it.
Frost
Although Eremurus bulbs are frost hardy, their early leaves can be susceptible to late spring frosts. Protect new growth from unexpected bouts of frost with horticultural fleece.
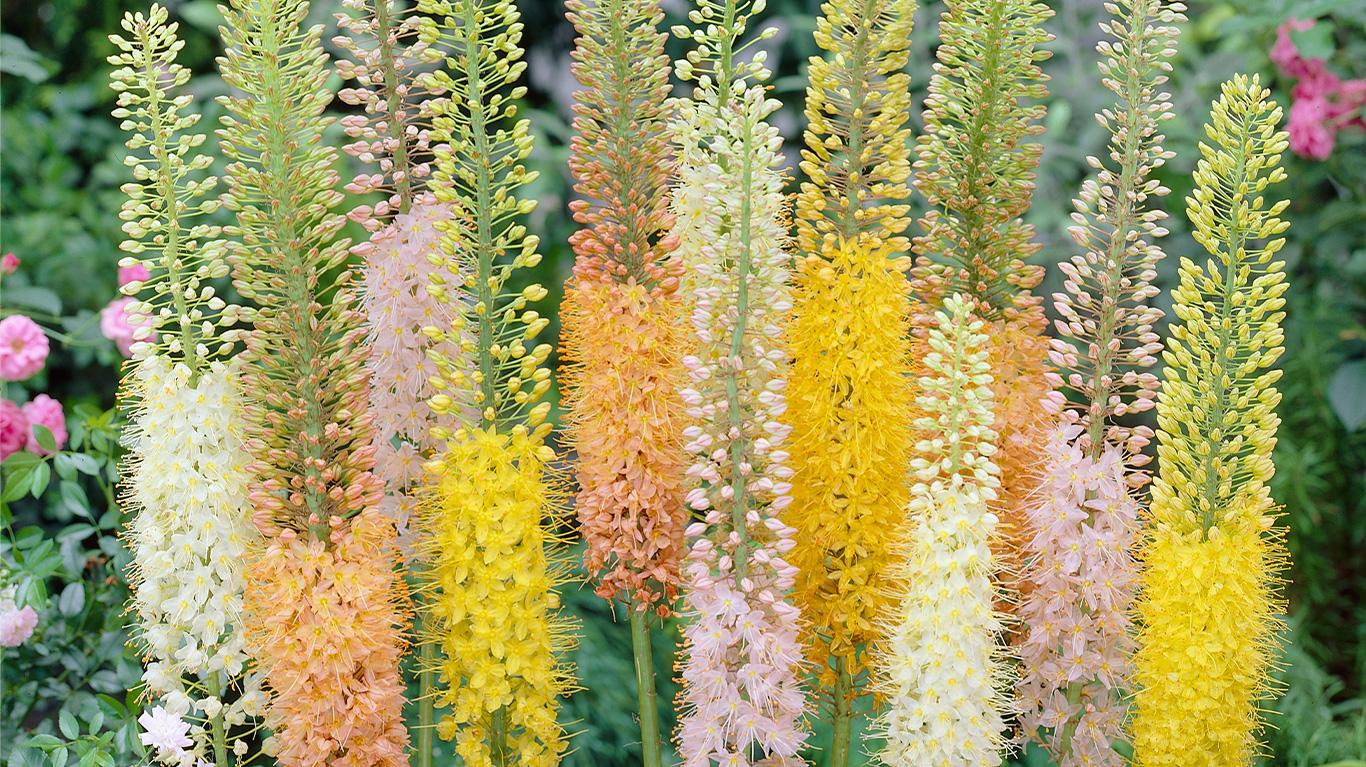
When will they Flower?
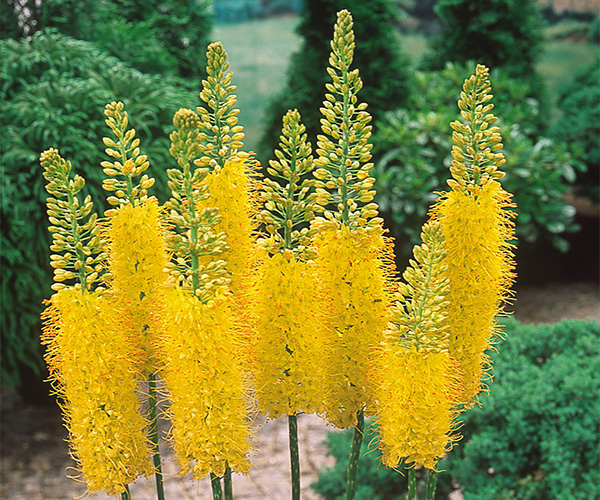
Once planted, you’ll see your Eremurus bulbs bloom from June to July. They’ll make wonderful additions to the back of your borders, flowering for about 3 weeks until they eventually die back at the end of July/start of August.
Ready to Shop?
Find some inspiration for your garden