Posted by Shannen Godwin on 17th Jun 2021
How to make pressed flowers
Do you hate seeing your flowers fade? It always feels like a shame when you have to throw out cut flowers, but what if we told you that you don’t have to? By turning your blooms into pressed flowers, you’ll be able to keep them as an everlasting ornament. Pressed flowers also add personalised additions to greeting cards and invitations, or even jewellery if you're feeling crafty! Here’s everything you need to know about pressing flowers.
Step 1: Choose your Flowers
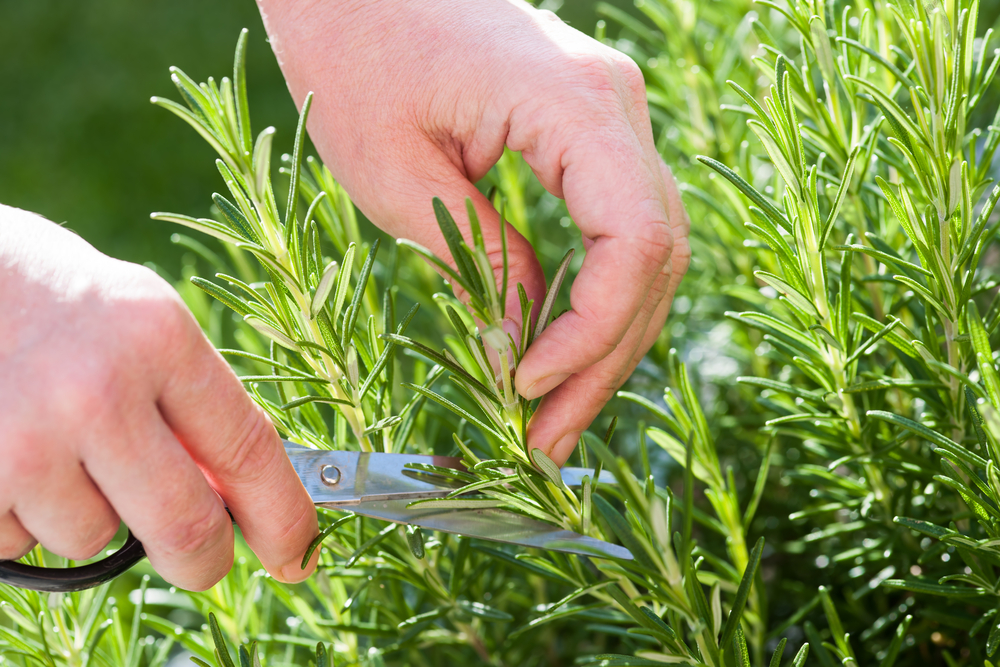
Freshness is the key. Choose flowers that are either still in bud form, or that are freshly bloomed. If you’re picking them from a garden, do so in the morning right after the dew has evaporated. One thing to note is that flowers with naturally flat faces are the easiest to press.
Step 2: Prepping
Once you have chosen your flowers, it's time to prep.
- 1.Hold the stems under water immediately after cutting. Then, recut the stems at an angle.
- 2.Remove foliage that will be below the waterline in the vase.
- 3.Place flowers in a clean vase with water and flower food (or a teaspoon of sugar). Keep them in a cool, dry place out of direct sunlight for a few hours.
- 4.To press thick flowers like roses, split them down the middle with scissors or a knife.
- 5.Lay the flat face of the flower on your paper and you are ready to press.
Step 3: Making Pressed Flowers
You will need:
- Books
- Newspaper
Open a book and line it with newspaper. Place your flowers (as flat as you can) on the page. Then, carefully close the book and weight it down (additional heavy books work well as weights). Store this pile in a warm, dry place and check on your flower specimens daily (this can take a couple of days to a few weeks for your specimen to dry completely). Finally, once your flowers are dry, carefully remove them and enjoy your pressed blooms!