What We've Included
Clematis Sizes | How to Plant | Where to Plant | Growing Clematis | Fertilising | How to Care for Clematis | How to Prune | Problem-solving | How to Propagate | Inspiration | Further Reading
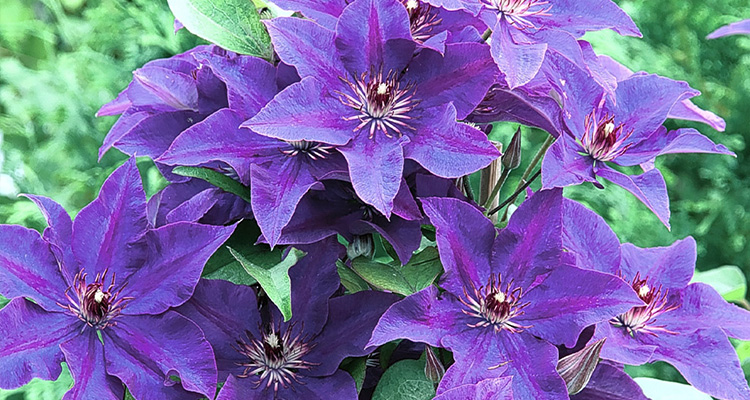
Clematis: Size and Habit
Clematis are breath-taking twining climbers ranging from herbaceous varieties that are typically about 60 cm, large-flowering clematis that grows between 1.4-3.5m in height, and largest of all, clematis such as the Montana cultivars that can reach an impressive 6-9m.
They have tough, twining tendrils like unwinding springs that grasp neighbouring plants allowing them to climb. You’ll also need to provide support such as trellis or wires if you’re thinking of growing them along walls or fences. In small gardens, they can be grown on walls or containers fitted with bamboo frames.
How to Plant Clematis Plants
Any plant is only as good as the soil it's planted in. So, before planting your new clematis, it’s important to prepare the soil. Remove any stones, rocks, sticks, or other debris, and then loosen the soil as this will help clematis establish.
• Dig a hole slightly larger and deeper than the pot.
• Add a generous handful of organic matter and plant your new clematis making sure to bury the top of the root ball about 5-7 cm deep, burying two leaf buds underground to encourage multiple stems to grow. It also gives you insurance if your clematis is ever affected by disease.
• Backfill with soil and firm it down well. Placing broken pots for shade around the base of plants can help trap moisture and keep their roots cool. Water well.
Planting Position: Where to Plant Clematis
If you remember any one thing about planting clematis, it’s this: They love their heads in the sun and their feet in the shade. No matter which clematis you’ve chosen to grow, they all have the same (or similar) needs: fertile, moisture-retentive soil and full sun. However, you’ll be thrilled to hear some clematis tolerate shade.
They're also incredibly hungry plants. To get the best flowering displays, add a generous handful of organic material to the planting hole and tease out the roots of your potted clematis gently before planting. Feed clematis plants once a week with high potash fertiliser during summer.
Growing Clematis into Trees and Shrubs
One of the many reasons you might enjoy growing clematis is that they are unrivalled for adding seasonal colour to existing garden shrubs and trees. Dull greenery can be revamped by encouraging later-flowering clematis to grow through them! Plus, it’s very easy to achieve.
Growing Clematis into Trees
• Choose a tree with rough bark such as a maple or an oak to give your clematis a rough surface to cling to, although any tree will benefit from being wrapped with chicken wire to allow the tendrils to grab hold. You may need to repeat chicken wire wraps up the trunk of taller trees.
• Take a 2m bamboo cane, angle it at 45° from the tree and bury about a third of the cane firmly in the soil on the shady side of the tree.
• Dig a hole wider and deeper than the pot, add organic matter to the bottom of the hole and plant your clematis deeply tilting slightly, following the angle of the cane.
• Mulch and water well before adding pot fragments to the soil surface to help shade the clematis roots.
• As your climber grows, tuck new growth into the chicken wire. Once the clematis is established it should grow strong and need no further encouragement to spread.
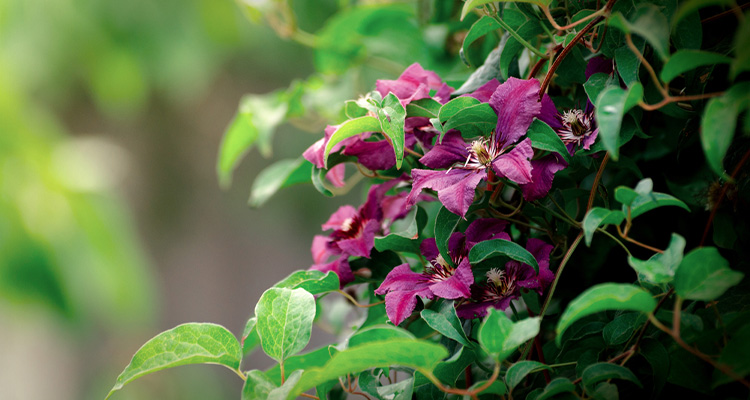
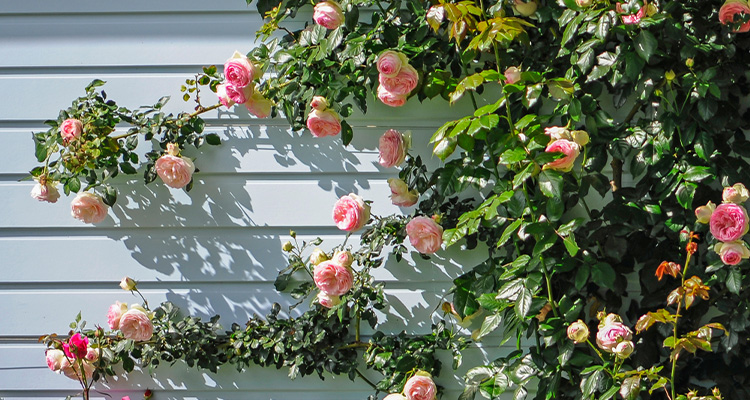
Growing Clematis into Shrubs
Clematis look fantastic trained over spring flowering shrubs such as laurel, forsythia, lilac and spirea and are a marriage made in heaven when paired with bush or climbing roses. Just follow these simple steps:
• Take a bamboo cane and angle it at 45° from the shrub, burying about 1/3 of the cane in the soil to prevent it from wobbling.
• Dig a hole wider and deeper than the pot, add organic matter to the bottom of the hole and plant your clematis deeply tilting slightly, following the angle of the cane.
• Mulch and water well before adding pot fragments to the soil surface to help shade the clematis roots.
Growing Clematis in Containers
You can grow practically any clematis in containers. However, more compact varieties tend to do better in pots, as larger varieties can quickly outgrow the pot. Growing clematis in containers makes them much easier to move around, especially if sudden strong winds, hail or snow is forecast.
Plants dry out more quickly in containers, so be prepared to do extra watering; two or three times a week from April to October and daily in hot weather. Better still, add water-swelling granules to compost at the time of planting - these will hold water in the soil for longer.
Generally, thick containers are better than thin ones since they offer better insulation and can keep clematis roots cool.
Fertilising and Mulching Clematis
You can start feeding your clematis the moment you notice the leaf buds break open. Apply a nitrogen and potash feed once a fortnight. Once you see flower buds appear, stop feeding the plant altogether and it should flower happily through the flowering season with just regular watering. Don’t be tempted to feed clematis late in autumn as you’ll encourage the plant to put on new soft growth that is likely to be killed by frost.
Savvy gardeners can avoid feeding their plants throughout the year by annually applying a thick 2.5cm organic mulch such as well-rotted manure or homemade compost at the base of plants in early spring that will provide the essential nutrients plants need throughout the year.
How to Care for Clematis
Clematis are surprisingly easy to grow as long as you give them plenty of sunlight and keep them well-watered although established plants shouldn’t need regular watering unless we have prolonged periods of hot, dry weather.
• It’s always better to give them a good drink 2-3 times a week rather than a little and often. Water is key! They just won’t put up with drying out.
• During dry weather or heat waves, water newly planted clematis at the base as well as soak the soil around your climber.
• Prune your clematis according to the pruning group to which it belongs.
How to Prune Clematis
Check out our quick pruning guide to identify what clematis you’re growing and how and when it needs pruning.
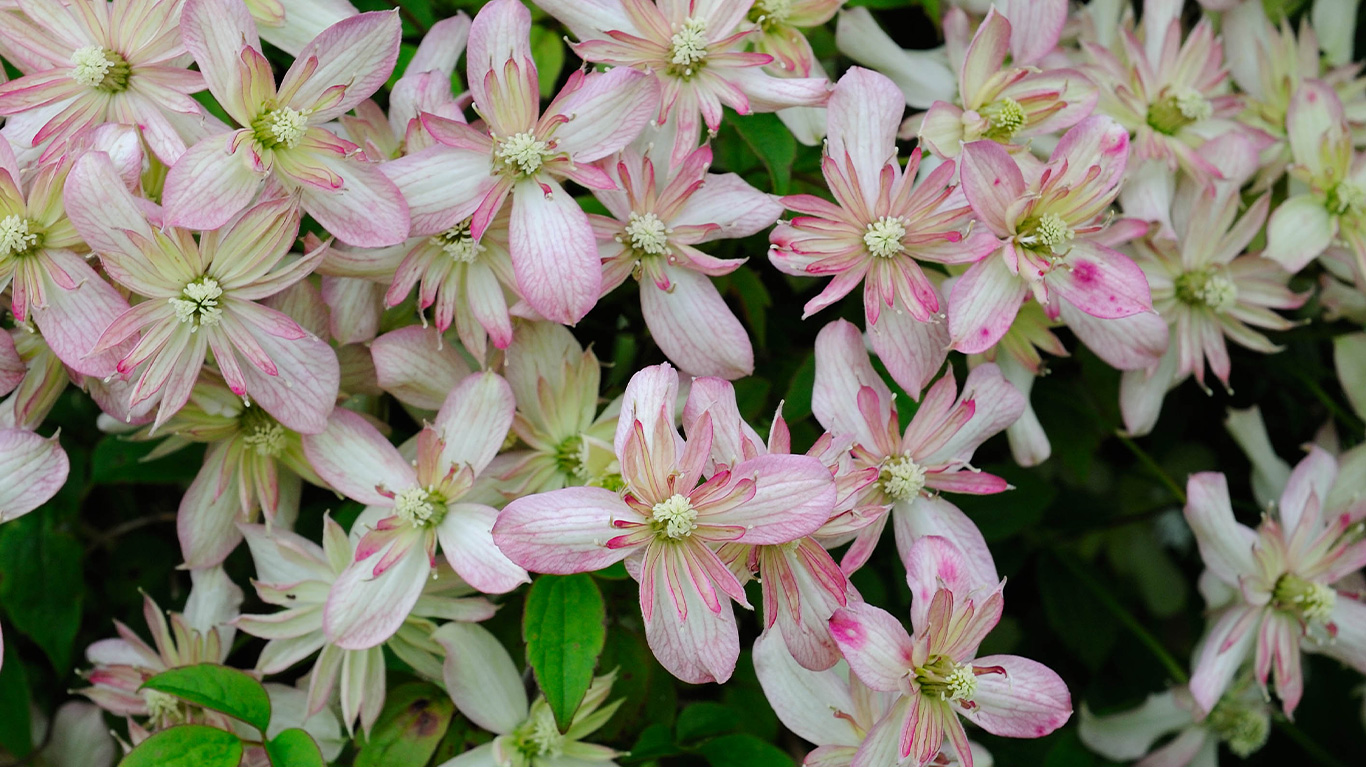
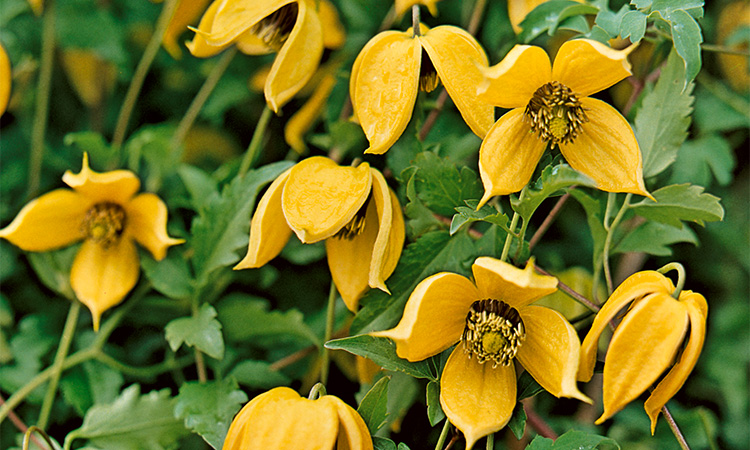
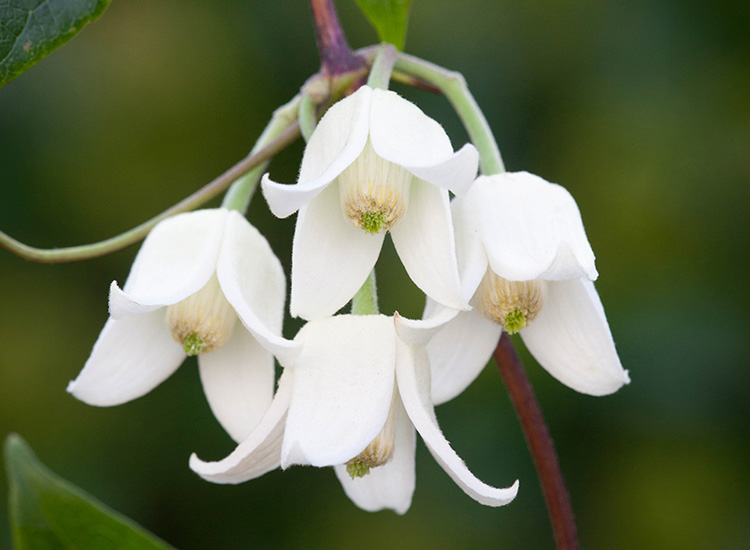
Group 1: Often called no-prune clematis, this group includes all winter, spring-flowering and evergreen varieties including alpina, macropetala varieties that have single, or double bell-shaped flowers, and the rangy C. montana varieties with large saucer-shaped and sometimes fragrant flowers. As a group, they require little or no pruning although some may benefit from a light haircut after flowering to maintain size and shape.
Group 2: Clematis that flower from early to midsummer and often have a modest second flowering from mid to late summer and typically have upright single or double saucer-shaped flowers that are less extravagant than later-flowering clematis.
Clematis in this group need gentle pruning and include early to mid-season flowering clematis which requires light pruning to gently tidy up the plant’s appearance. Typically, this group flowers in early summer from late May to June and need to be pruned in late February or early March when the green buds are swelling and easy to identify.
How to do it:
With a clean, sharp pair of secateurs, prune just above the first pair of strong buds and work your way down. You may need to remove quite a bit of top growth, some might have buds and shoots but don't worry, this is normal. Just lightly cut back the clematis to a good framework, removing any spindly shoots. Avoid pruning hard, as this may reduce flowering.
Group 3: Group 3 includes late flowering cultivars and herbaceous clematis which are undoubtedly the easiest to prune. Mature plants can look tatty and bedraggled in winter, so you’ll need to prune hard and early. Prune in February if you live in the South or leave it to early March if you live in the North.
• Start at the base of a vine and work upward
• Find the first pair of good, strong, fat buds and prune just above them
• Repeat the process for the rest of the plant
Because Group 3 clematis flower on new season’s growth, removing old growth is vital to rejuvenate the plant as it prevents all the growth from being up top with bare leggy stems below.
Mulching
Many different materials can be used for mulching, including compost, leaf mould, and straw. Mulch new plants with a 2.5 cm ring of organic material after planting to help boost flowering, feed the plant and trap moisture in the soil.
Growing Clematis: Problem-solving
If you're new to growing clematis, you may be wondering if they are too much trouble to grow. Don’t let pruning put you off, when you’ve done it once you can practically do it in your sleep. However, they can be affected by problems now and again. Once well established, most clematis tend to be trouble-free and here's a quick guide to the most common problems and how to troubleshoot them.
Clematis Pests
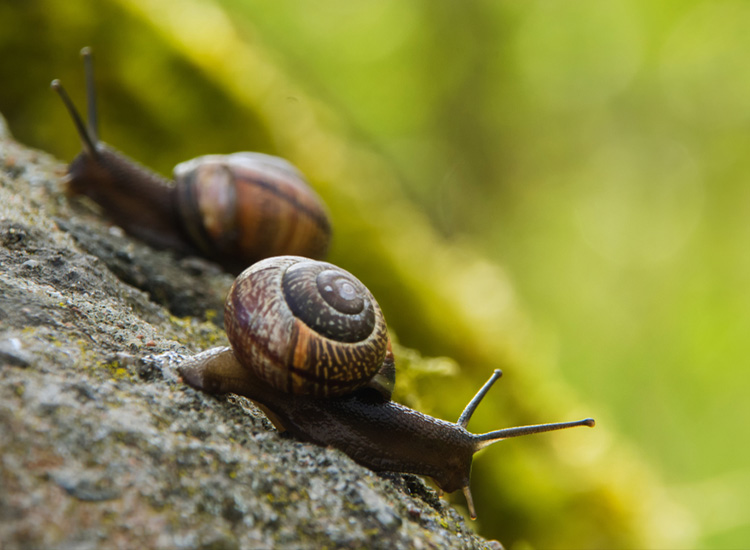
Slugs and snails like eating newly planted clematis but using slug pubs or slug pellets at the base of plants will save your plants from any real damage.
Earwigs love clematis as much as we do, eating the leaves and flowers while hiding around the base of the plant. Make homemade earwig traps using an upturned flowerpot filled with dried grass or straw and leave it at the base of the plant or put it upside down on the top of bamboo canes to encourage earwigs to hide in them instead and empty daily.
Clematis Diseases
Powdery Mildew is a fungal disease that affects plants if they are crowded too closely together resulting in poor air circulation and can be triggered by hot dry or hot humid weather.
Symptoms: A grey dusty powder over the leaves.
Treatment: Remove and destroy affected foliage or you can spray with an eco-friendly fungicide. Avoid using high nitrogen feeds as it stimulates young, succulent growth which is more susceptible to infection.
Clematis wilt and fungal stem rot is the most serious of all clematis problems you’ll encounter and mainly affects the large-flowered hybrids whereas the small-flowered hybrids, species and their cultivars are less susceptible to wilt.
Symptoms: The symptoms are obvious, the plant collapses and within days, the stem and leaves blacken and die.
Treatment: Planting clematis deeply, to begin with. This is a safety measure that allows you to cut the plant back hard if affected by wilt when it will usually grow back from the base the following year. Cut off and destroy all the affected parts and rake up and dispose of fallen leaves.
How to Propagate Clematis
The easiest way to propagate clematis is with softwood cuttings in April or May. Here's how to do it:
1. Have a plastic bag ready with a damp paper towel inside to collect your cuttings. Cuttings are best taken early in the morning when the stems and leaves are still full of water.
2. With a clean knife or secateurs, cut a non-flowering stem just above a leaf joint - that’s part of a stem from where two leaves grow. The longer the cutting, the better as you’ll get more cuttings but be sure to choose stems that are pliable, not too soft or woody. You can usually get several cuttings from long stems but avoid using young green tips, they won’t root well.
3. Place cuttings in the bag to keep them fresh if you’re gathering more stems.
4. On a clean surface, cut a section of the stem above a leaf joint. Ideally, cuttings should be about 7cm long.
5. Strip off any lower leaves so you are left with a bare stem with two leaves on top. Remove one of the leaves.
6. Fill a garden pot with cutting compost and water it well and let it drain before adding a fine layer of grit or gravel to the top of the compost.
7. The cutting will be firm enough for you to push the end into the pot, although you can use a chopstick) to make a hole in the potting mix instead.
8. Firm the soil at the base of the cutting gently and label.
9. Repeat this process until you have potted up as many cuttings as you want.
10. Place the potted cuttings in a propagator; if you don’t have one, cover the pot with a clear plastic bag and leave it in a warm place out of direct sunlight. Cuttings will develop new roots over the next 3-5 weeks and will be ready to plant outdoors in their final flowering positions in summer.
Advice for Buying Clematis
Arguably choosing which clematis to grow is considerably harder than growing them. When buying clematis, there are a few things to keep in mind and take time to choose the right clematis for the right spot. If you have a shady garden, go for ones that can cope with light shade. Although many clematis cope with partial or dappled shade very well, very few will thrive or flower in deep shade.
Most clematises are hardy, but some are not so tolerant of cold, so check out their hardiness before buying. Remember the key to success is giving clematis plenty of sunshine, moist soil and good drainage.
Ready to Shop?
Find some inspiration for your garden
Want to Know even more about Clematis?
Take a look at our helpful blogs