What We've Included
How supplied | When to Plant | Where to Plant | How to Plant | When will they flower | After Care | Common Issues | Inspiration | Further Reading
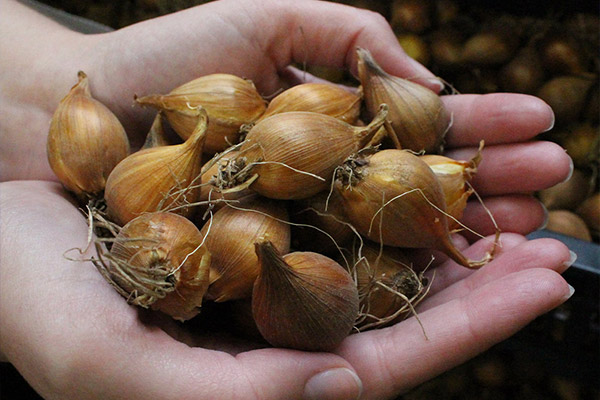
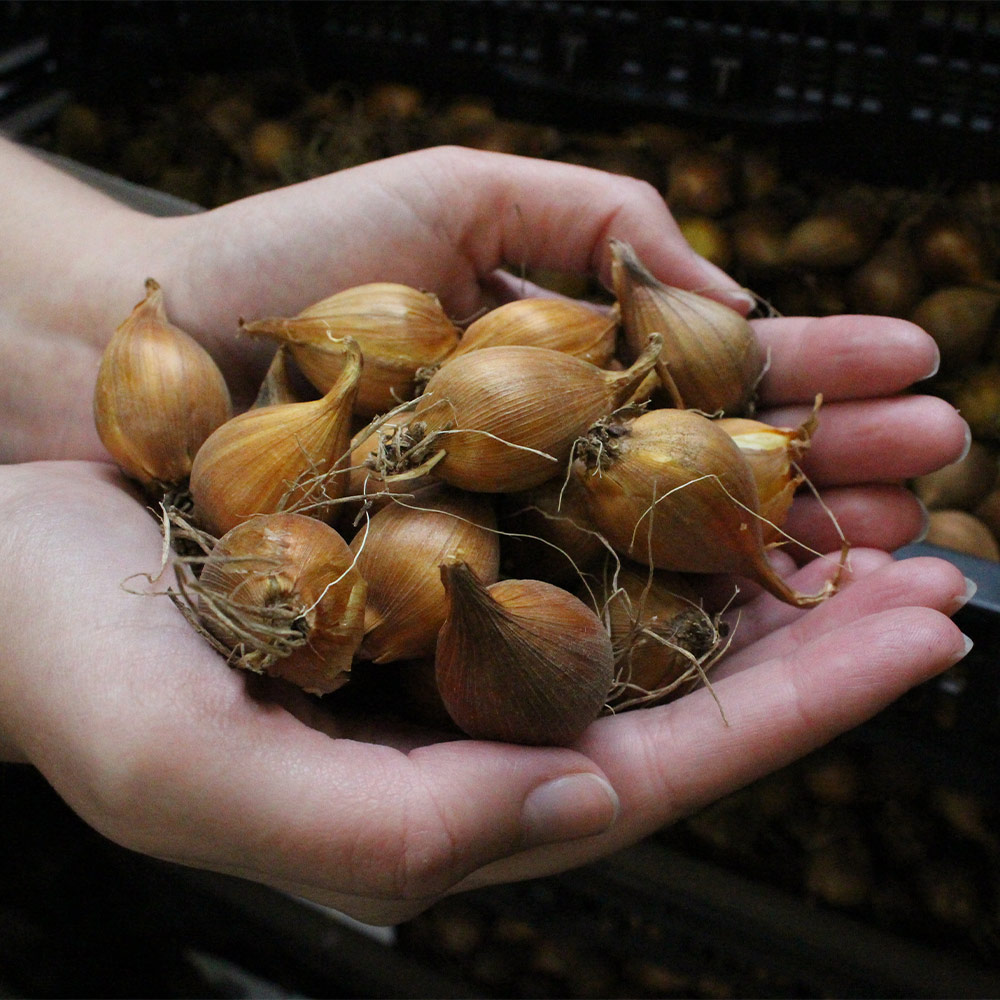
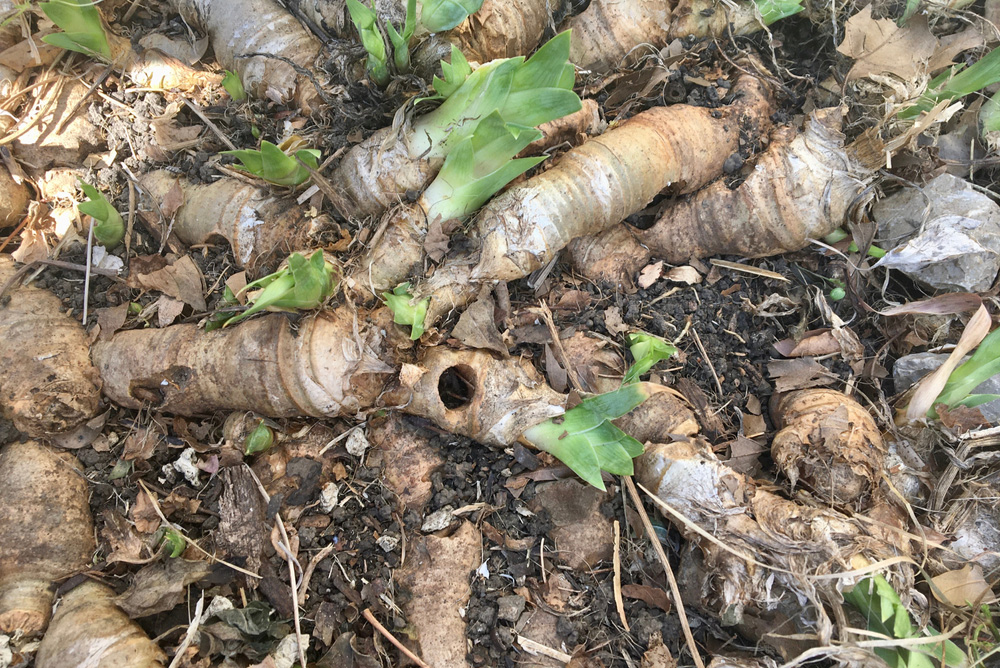
How Supplied
Our bulbs will be delivered fresh and healthy. There should be firm, not soft. Some bulbs may arrive with slight mould patches, but this is completely normal and can be brushed off. If you suspect that your bulbs are faulty, do not hesitate to get in touch.
Once your bulbs arrive, take them out of their packaging (including bags) and lay them out on newspaper so they can breathe. This is so they don’t excessively sweat in their containers, ruining the bulbs. Leave somewhere cool and dry until it’s time to plant them.
When to Plant
For best results, plant your Iris bulbs from mid to late autumn to then see them flower in early spring or mid-summer. If you live in colder climates, place some mulch on the top of your soil to keep the bulbs warm through particularly cold weather.
Where to Plant
Iris bulbs can be planted in beds, borders, and patio pots. The beauty of the iris bulb is that they’re incredibly easy to grow, making them a perfect investment for both beginners and experienced gardeners.
Position your bulbs in areas that reach plenty of sunlight, or in dappled shade. This goes for both spring and summer-flowering varieties. If you worry about a lack of sunlight exposure in your garden, flowerpots can be incredibly helpful. Simply move them to wherever the sun is positioned!
How to Plant
Borders
1. Dig a hole that’s wide enough to fit the bulb comfortably, and at least 2-3 times the bulb’s depth (around 15cm deep). Planting at this depth can encourage the bulbs to reflower more reliably the following year.
2. Add bonemeal and horticultural grit (or spent compost) to the bottom of the hole. This will help the bulbs to grow healthily.
3. Pop each bulb into their holes, pointed side up. Space each bulb twice its width apart (5-7cm).
4. Cover with soil and pat down.
In Grass
Spring-flowering Irises like the Dwarf Iris variety can be planted through grass, especially under trees and shrubs. This is perfect for creating a magical woodland effect!
For a natural-looking growth, grab a handful of bulbs and throw them onto the area that you’d like to grow them and plant them where they land. Plant as you would in beds and containers – Bulb pointy side up, 2-3 times the depth of the bulb.
Containers
Bulbs need a lot of drainage, so find a pot with a hole at the bottom. This will help drain the water from the soil, preventing bulb rot or waterlogging. You can even take it a step further by adding some stones to the base of the pot before adding your soil.
1. Fill the pot with any multi-purpose compost until you’ve reached its halfway point.
2. Place your bulbs on top of the soil, about 5-7cm apart.
3. Cover with the compost to the top of the pot. Break up any lumps as you go.
4. Gently press the soil so that it’s nice and flat.
5. Make sure you place your pot on feet to allow the moisture from the pot to escape.
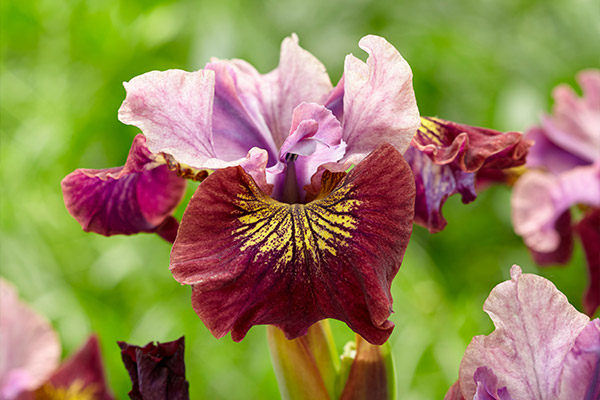
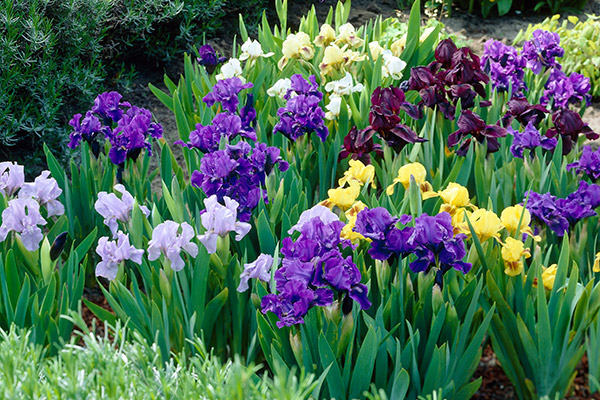
When will they Flower?
Many Iris varieties fall under two flowering periods – Spring or Summer.
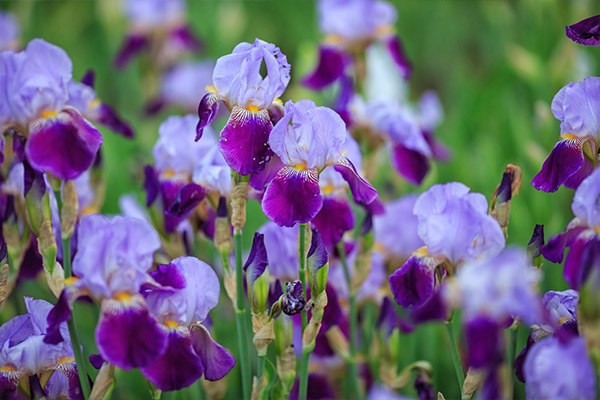
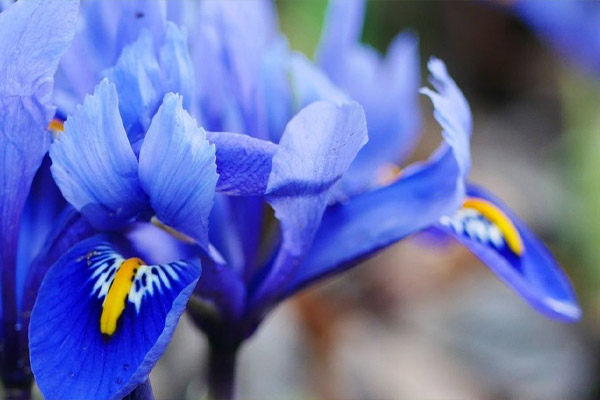
Spring Flowering Irises
If you’re searching for an impressive and colourful early spring display, then these Iris bulbs are a must-have. After planting these bulbs in mid-autumn, you should see them appear from February to March. Several varieties flower at this time of year, including the widely renowned Iris reticulata.
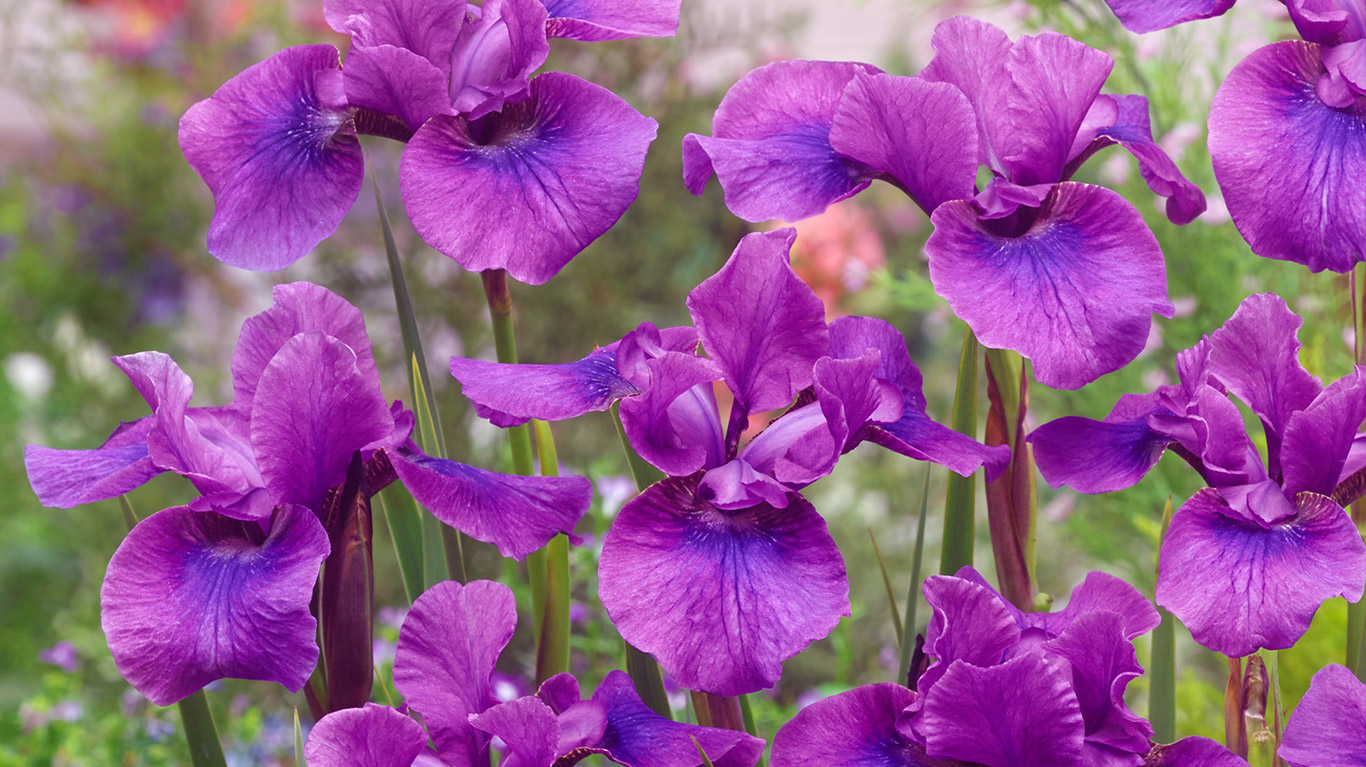
Summer Flowering Irises
A large majority of Iris varieties flower in summer.
After Care
When to water
Depending on the season, your Iris blooms will need slightly different watering schedules. In the spring, the UK often sees regular downpours, which will water your blooms for you! However, in the summer when the temperatures are warmer, it’s a good idea to water as often as the soil needs it (i.e., when the soil is dry to touch).
What to do once they’ve finished blooming
Irises don’t require regular pruning like other spring and summer-flowering blooms. Leave them to die back naturally and cut back foliage once it’s dead. Mark the area where they’re planted to avoid disturbing the area later in the year and ruining the bulbs.
Deadhead
Deadheading can help redirect the bulb’s energy into creating a new flower once the other one has wilted. It also helps to keep the flower bed looking tidy and uniform whilst the others are still in bloom. Simply cut the spent flower with clean shears, just above the leaves.
Storing Tips
As Iris bulbs naturalise when left to grow, they produce several ‘daughter’ bulbs. If they get too compact, it can sometimes affect the growth of the original bulbs when it goes to flower. To mitigate this, we suggest lifting and dividing these daughter bulbs and replanting them elsewhere.
Directions:
1. Gently uncover the bulbs using a small spade or fork. Be careful not to pierce or damage the bulbs while doing this.
2. Brush off any remnants of soil and dirt gently. If the bulb feels a bit squishy, it could be a sign of damage or disease and is best thrown away.
3. Replant the new bulbs directly into their new area or pot up in individual small pots until ready to plant in mid to late autumn.
Common Issues and How to Solve Them
Leaf Spot
Leaf spot is a type of bacterial and fungal disease that Irises, especially Bearded Irises, can fall victim to. The main symptoms of leaf spot are close to what the name suggests – leaving spots across the leaves and turning the area brown. Cut off the infected leaves as soon as you spot them. If the leaf spot is bacterial, you will have to dig up and throw away the affect bulbs.
Slugs and Snails
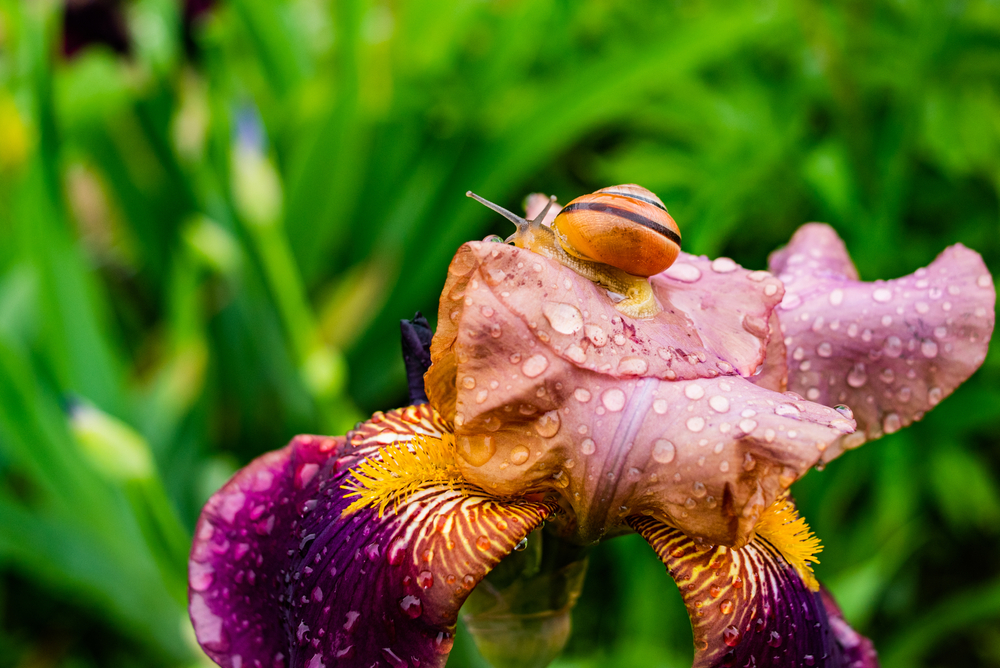
Although Irises are easy to grow and maintain, like any flower, they come with a unique set of issues. Slugs and snails love Iris blooms, but thankfully there are several ways to mitigate their destruction.
One popular method is called the beer trap. Slugs and snails love beer and will go out of their way to reach it. However, they will fall in trying to get to the beer, leaving your plants pest-free!
Iris Borer
The Iris Borer moth is another pest that could affect Iris rhizomes. They lay eggs on the leaves and petals of the plant, and when they hatch, they eat the plant until they reach the bulb and borrow in. If you see brown streaks on your plants leaves, they could have fallen victim to the Iris Borer.
The best way of saving the plant is by cutting away the affected areas and dipping the rhizome in a solution made of bleach and water (1 part bleach to 4 parts of water). Let the rhizome dry and then replant after a few days.
Ready to Shop?
Find some inspiration for your garden
Want to Know even more about Iris?
Take a look at our helpful blogs