What We've Included
How Supplied | When to Plant | How to Plant | Where to Plant | When will they flower
| After Care | Common Issues | Inspiration
How Supplied
Our bulbs will be delivered to you fresh and healthy. Unlike many other bulbs, Fritillaria have a softer fleshy feel, especially the larger bulb varieties. Some bulbs may arrive with slight mould patches, but this is completely normal and can be brushed off. If you suspect that your bulbs or corms are faulty, do not hesitate to get in touch.
Once your bulbs arrive, take them out of their packaging and lay out in a box so they can breathe. Put into a paper or mesh bag for storing. This is so they don’t excessively sweat in their containers, ruining the bulbs.

When to Plant
Some gardeners say that Fritillaria bulbs prefer to be planted in early to mid-autumn, often between September and October. However, in the UK, you can plant right up to mid-December (frost allowing your hole digging). If you receive your bulbs before this time, store them in a cool and dry place until it’s time to plant them out.
How to Plant
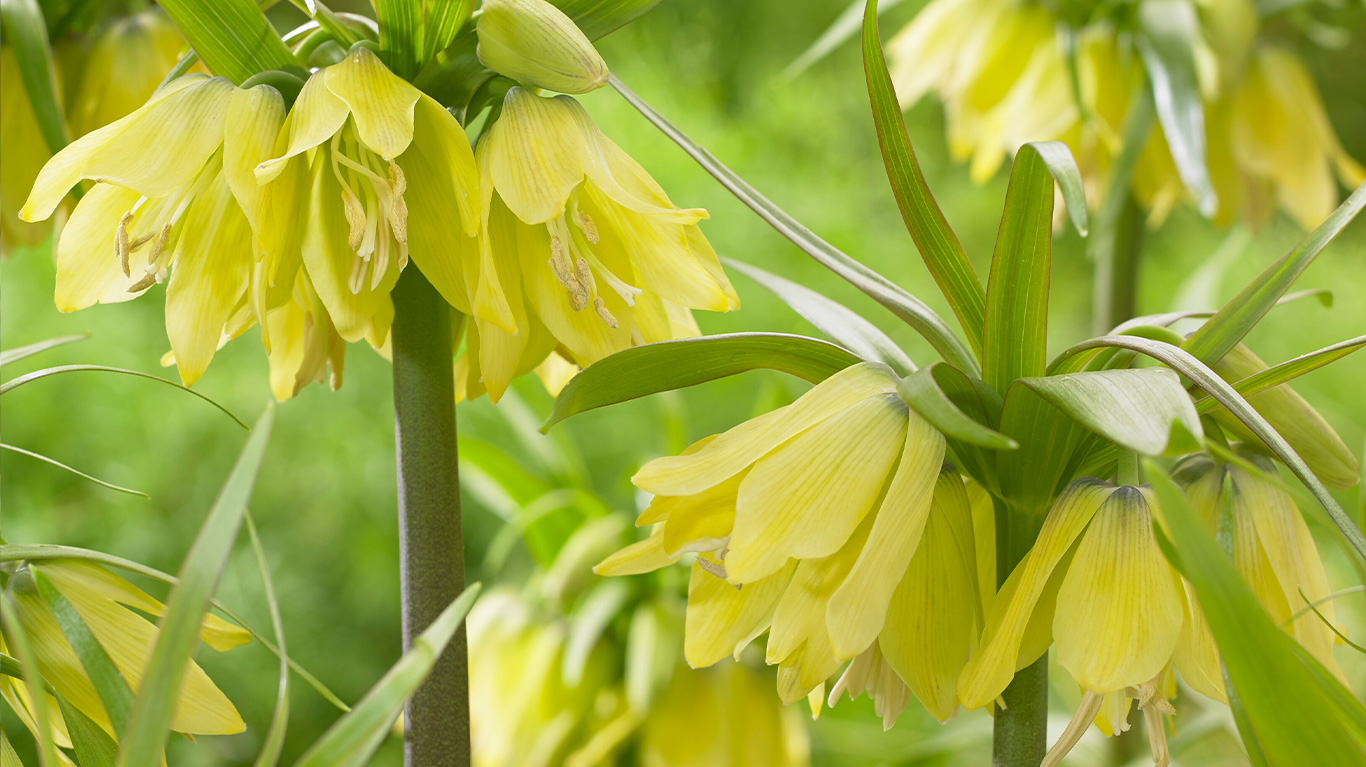
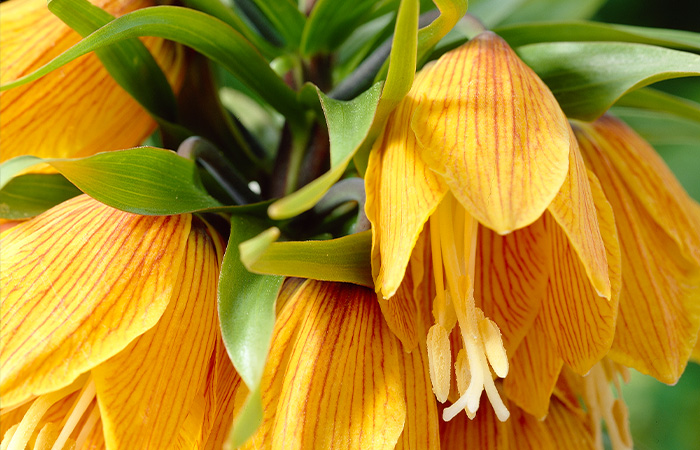
How to Plant Large Bulb Varieties (Crown Imperial)
(bulb size 10-26cm circumference)
To see the best results with your Fritillaria bulbs, follow these easy-to-follow planting instructions.
Borders
1. Dig a hole that’s wide enough to fit the bulb comfortably and at least 30cm deep.
2. Space each bulb apart by around 10cm.
3. Pop each bulb into their holes, pointed side up.
4. Cover with soil and pat down. Water if the soil is dry
Containers
1. Pick a large pot and fill it with any multi-purpose compost. Ensure there’s about 30cm between the bulb and the top of the soil to anchor the blooms down when flowered.
2. Place your bulbs on top of the soil, about 8-10cm apart.
3. Cover with the compost to the top of the pot. Break up any lumps as you go.
4. Gently press the soil so that it’s nice and flat.
5. Make sure you place your pot on feet to allow the moisture from the pot to escape.
How to Plant Small Bulb Varieties
(bulb size 5-8cm circumference)
Borders
1. Dig a hole in well-drained, prepared soil that’s wide enough to fit the bulb comfortably, around 5cm deep.
2. Space each bulb apart by 3-4cm. Plant bulbs in clumps for a fuller display.
3. Pop each bulb into their holes, pointed side up.
4. Cover with soil and pat down. Water if the soil is dry.
Containers
1. Pick a pot and fill it with any multi-purpose compost about halfway.
2. Place your bulbs on top of the soil, about 3-4cm apart.
3. Cover with the compost to the top of the pot. Break up any lumps as you go.
4. Gently press the soil so that it’s nice and flat.
5. Make sure you place your pot on feet to allow the moisture from the pot to escape.
In Grass
Fritillaria are perfect naturalisers. When left to grow, they will multiply, making smaller fritillaria bulbs a perfect choice for growing in grasses and lawns.
For a natural-looking growth, grab a handful of bulbs and throw them onto the area that you’d like to grow them and plant them where they land. Plant as you would in beds and containers – Bulb pointy side up, 5-8cm deep.
Watch Our Video On How to Plant Fritillaria
Watch: How to Plant Fritillaria Meleagris
Where to Plant
Large bulb varieties
To truly get the most from your large-flowering bulbs, you can grow them in beds and containers. As large-flowering fritillaria should be planted quite deep to anchor them down, ensure your container is big enough to plant about 30cm deep, with space below the bulb for the root system to grow.
Position them in well-drained soil and in areas that reach plenty of sunlight. They will struggle to grow in complete shade but can handle partially shaded areas.
If you worry about a lack of sunlight exposure in your garden, flowerpots can be incredibly helpful. Simply move them to wherever the sun is positioned!
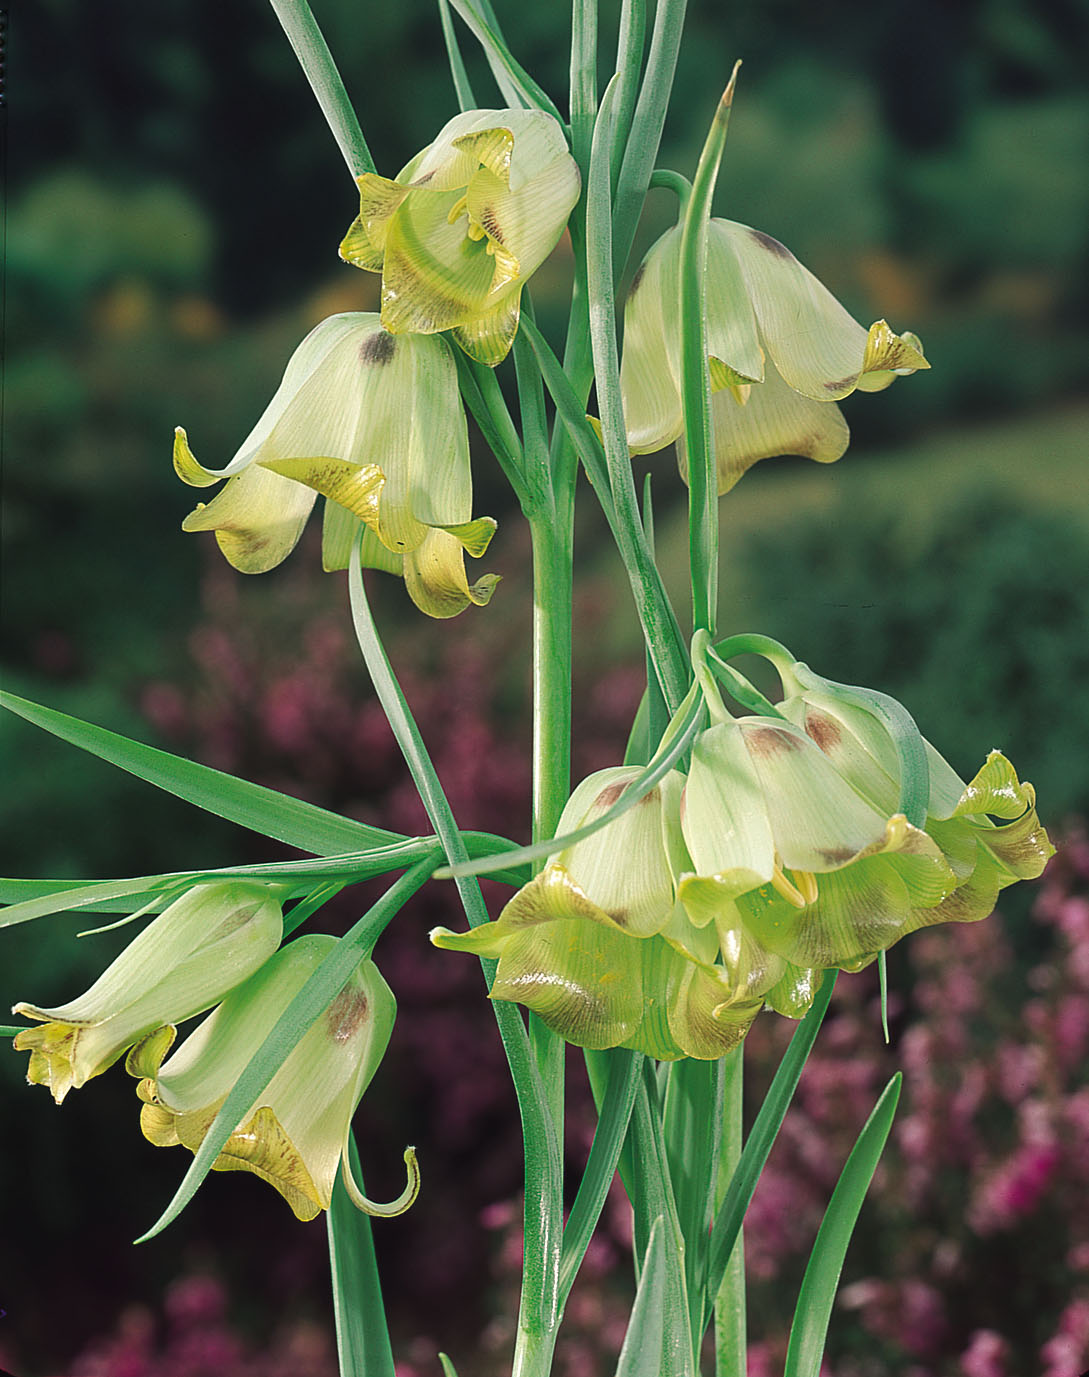
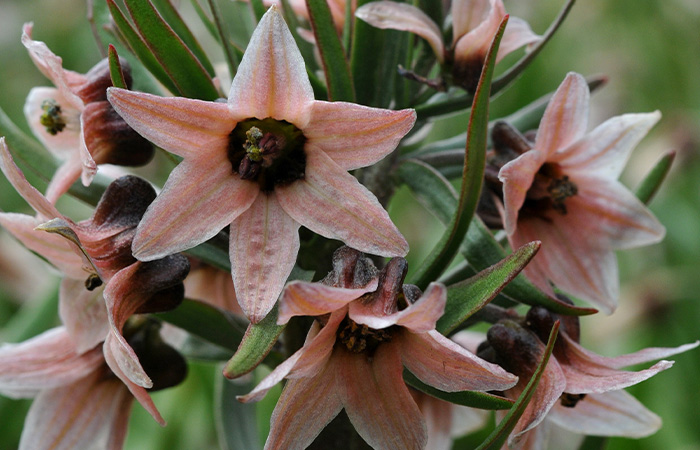
Small bulb varieties
Smaller varieties, like Meleagris & Uva Vulipis, flower differently to large bulbs, as they’re quite a bit shorter. Not only can they be grown in beds and containers, but they naturalise well in grass too!
Plant in well-drained soil. Many smaller varieties aren’t tolerant to overly moist soil, so avoid creating waterlogged conditions. Plant in an area of the garden that reaches plenty of sunlight, or dappled shade if planted under trees and shrubs.
When will they Flower?
Most fritillaria varieties will appear in mid-spring, either in April or early May. They will then provide you with impressive blooms through to early summer! This is true for many fritillaria varieties, regardless of bulb size.
After Care
When to water
As long as the soil is moist, there’s no need to water these flowers too often. As the spring season in Britain is usually quite damp, the rain will water them for you! If we’re having an abnormally dry season, then you can water them once the soil feels dry but be careful not to waterlog the soil as it will ruin the bulbs.
What to do once they’ve finished blooming
Leave the blooms to fully die back before cutting. This will allow the bulb to soak up enough energy for the following year, helping it to grow into a healthy new bloom. You can overwinter these varieties, meaning that you leave them in the soil over winter to naturalise. They will remain dormant until spring the following year.
Storing tips
As Fritillaria naturalise when left to their own devices, you may want to eventually separate the clumps that form and replant them elsewhere or store them until autumn.
1. Wait until the plant has died down and has reached a straw colour (often yellow).
2. Dig up the area they’re planted gently. Try not to damage the bulbs in the process.
3. Brush off any remnants of soil and dirt gently and divide them.
4. Leave to dry on a tray for 24 hours before storing so they don’t grow mould and rot. Store in a cool dry room until ready to replant in September.
Deadheading
Deadheading can help redirect the bulb’s energy into creating a new flower once the other one has wilted. It also helps to keep the flower bed looking tidy and uniform whilst the others are still in bloom. Simply cut the spent flower with clean shears, just above the leaves.
Common Issues and How to Solve Them
Lily Beetle
As Fritillaria are part of the lily family, they can sometimes be targeted by the annoying lily beetle. To mitigate the risk of this pest, the best solution is to remove them by hand when you see them.
Not flowering
If you’ve noticed your Fritillaria bulbs are struggling after a successful first year’s bloom, then this could be due to a few reasons. Large bulb varieties hate being too wet. If they are kept in areas of beds that are particularly water-logged, then they may become damaged and refuse to regrow. Because of this, we suggest planting your large bulbed varieties in pots, containers, or even in raised beds to ensure the drainage is perfect.
However, smaller bulbed varieties prefer the opposite. They like to be in moist conditions and may struggle to reflower if conditions are overly dry. Try not to water-log the soil, but water regularly to avoid it going completely dry.
Ready to Shop?
Find some inspiration for your garden