What We've Included
When to Plant | Where to Plant | How to Plant | When will they flower
| After Care | Common Issues | Inspiration
When to Plant
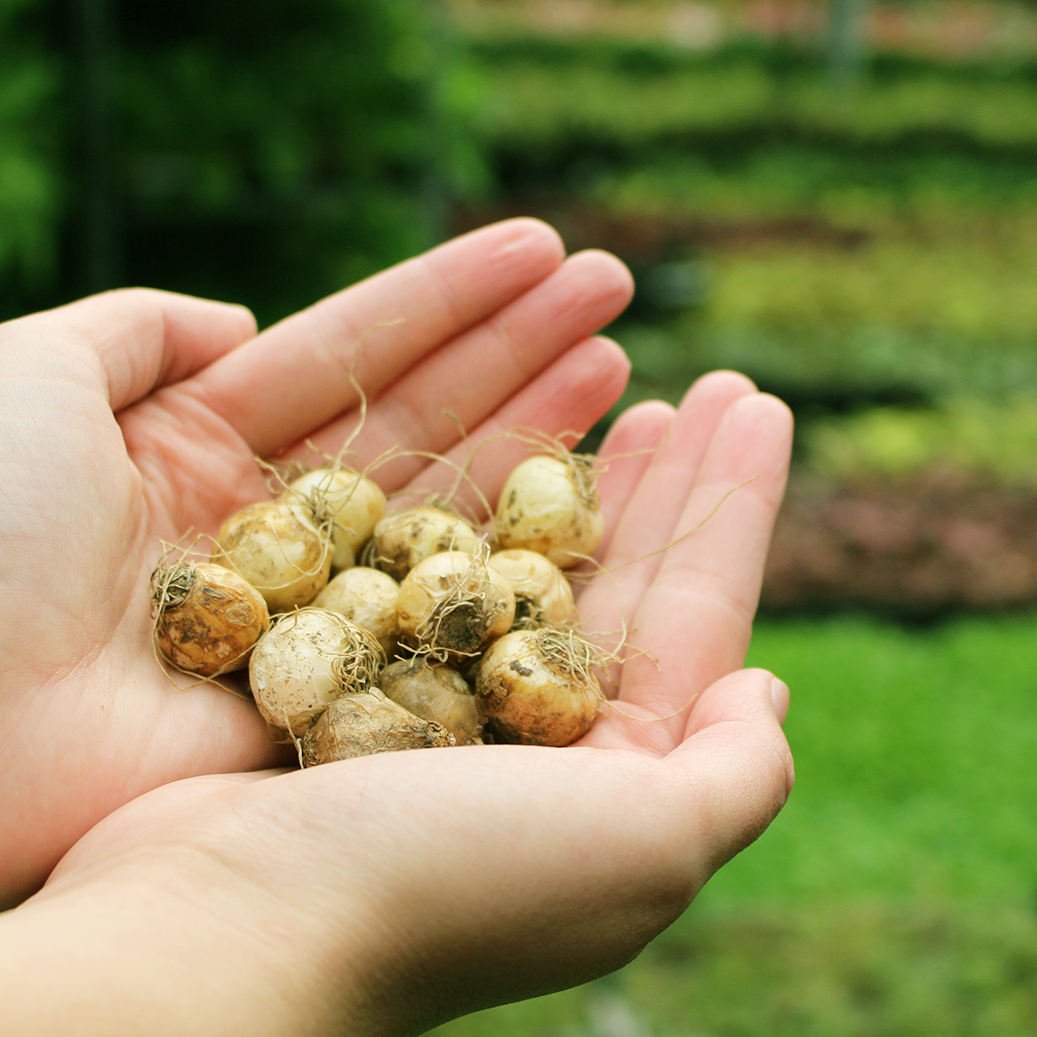
We supply Muscari in bulbous form, usually in sizes of 4/5 or 6/7cm. To see your bulbs bloom from April to May, you should aim to plant them from in autumn, usually September to November.
Our bulbs and bulbs in the green will be delivered fresh and healthy. They should be firm, not soft. Some of our dry bulbs may arrive with slight mould patches, but this is completely normal and can be brushed off. If you suspect that your bulbs are faulty, do not hesitate to get in touch.
Where to Plant
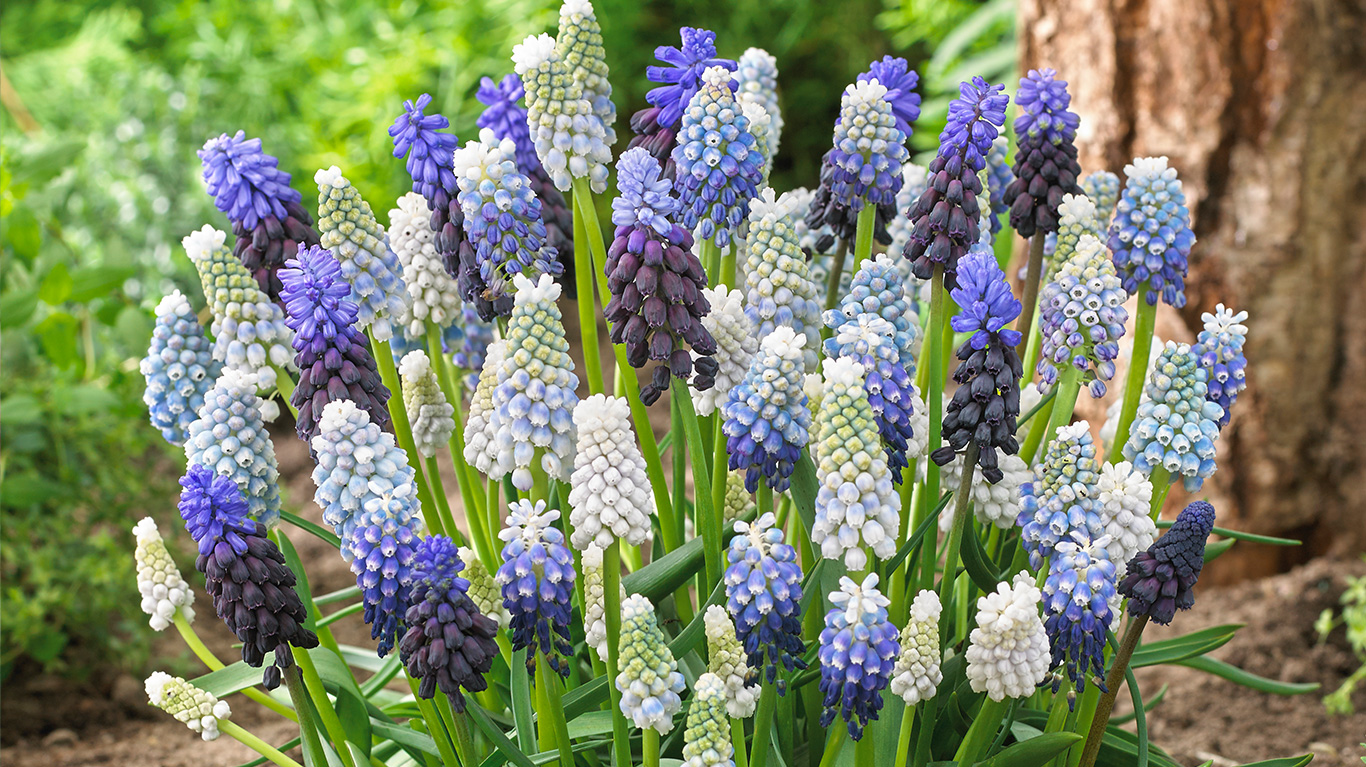
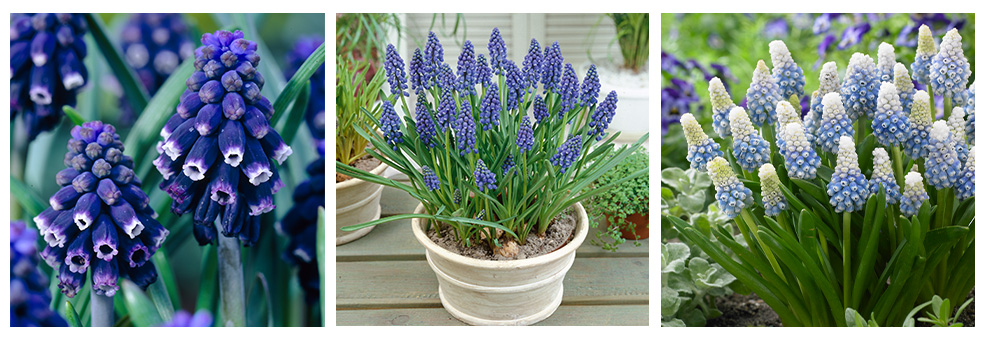
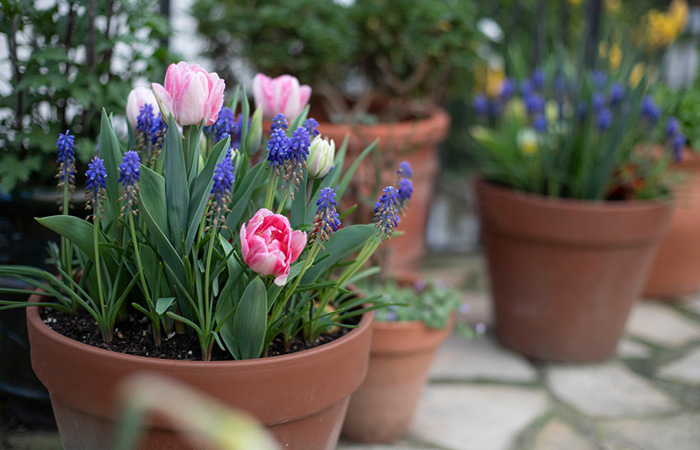
Muscari bulbs can be planted around the border, in containers, and through grass/lawns. They are both easy to grow and maintain, ideal for both beginners and low-maintenance garden owners.
Position your bulbs in dappled shade. This is why they achieve wonderful results when planted under trees, as they receive both sun and shade in this position.
How to Plant
If you have ever seen Muscari in the woods whilst on a walk, then you would have noticed that they grow prolifically in drifts through grass. They can also be grown at the front of borders and in containers. For a natural-looking display, plant them in small clusters.
Borders
1. For planting in groups, dig a trench instead of individual holes around 10cm deep.
2. Pop each bulb into their holes, pointed side up. Space each bulb twice its width apart.
3. Cover with soil and pat down gently. Do not step on the area, as it can damage the bulbs.
Containers
1. Fill the pot with any peat-free compost until you’ve reached its halfway point.
2. As a rule of thumb, bulbs should be planted about 10cm from the top of the pot.
3. Place your bulbs on top of the soil, spaced apart by twice the bulb’s width.
4. Cover with compost to the top of the pot. Break up any lumps as you go.
5. Gently press the soil so that it’s nice and flat.
6. Make sure you place your pot on feet to allow the moisture from the pot to escape.
In Grass
Plant your Muscari in grassy areas under trees and shrubs for a lovely woodland effect.
To achieve a naturally occurring look, grab a handful of bulbs and throw them onto the area that you’d like to grow them and plant them where they land. Muscari will naturalise when grown in grass, doubling the number of flowers grown each year!
Plant as you would in beds and containers – Bulb pointy side up, 2-3 times the depth of the bulb.
Watch Our Video on How to Plant Muscari
Watch: How to Plant Muscari in Pots
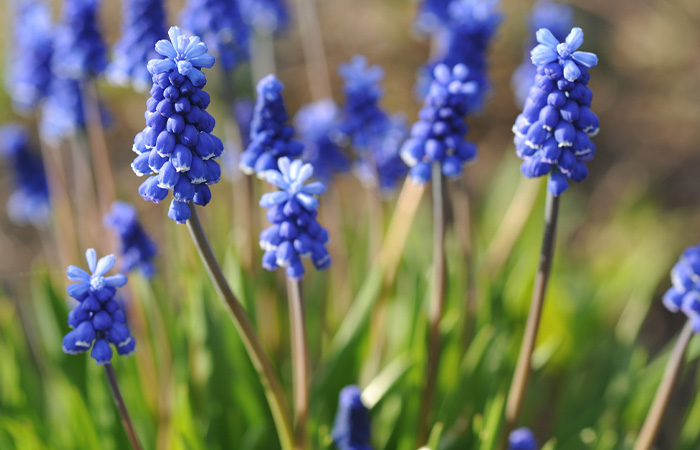
When will they Flower?
Muscari bulbs produce their blooms from late spring, often seen around April to May. You can leave them to die back naturally after flowering, allowing the bulbs to soak up as much energy as possible so they can regrow the following year.
If you are unsure, check the flowering information on the product page as it will indicate what months that specific plant or flower will appear.
After Care
When to water
If the soil is dry, water your Muscari. As the spring season in Britain is usually quite damp, the rain can also water your bulbs for you! If we’re having an abnormally dry season, then you can water them once a week, or again, if the soil is dry.
What to do once they’ve finished blooming
Unlike other spring bulbs, Muscari can be left alone. Let the flower and foliage die back completely, especially before mowing the grass if planted there. Continue watering the area if the soil is dry.
Deadheading
Deadheading can help redirect the bulb’s energy into creating a new flower once the other one has wilted. It also helps to keep the flower bed looking tidy and uniform whilst the others are still in bloom.
Simply cut the spent flower with clean shears, just above the leaves.
Propagation
As Muscari naturalise when left to grow, they produce several new bulbs. If they get too compact, it can sometimes affect the growth of the original bulbs when it goes to flower.
To mitigate this, we suggest lifting and dividing these daughter bulbs every few years and replanting them elsewhere.
Directions:
1. Gently uncover the bulbs using a small spade or fork. Be careful not to pierce or damage the bulbs while doing this.
2. Brush off any remnants of soil and dirt gently. If the bulb feels a bit squishy, it could be a sign of damage or disease and is best thrown away.
3. Replant the new bulbs directly into their new area or pot up in individual small pots until ready to plant in mid to late autumn.
Common Issues and How to Solve Them
Muscari run into very few issues, so they’re the perfect low-maintenance plant for those who can’t spend much time in the garden.
Want to Know even more about Muscari?
Take a look at our helpful blogs
Ready to Shop?
Find some inspiration for your garden