
What We've Included
How Supplied | When to Plant | Where to Plant | How to Plant | When will they flower |
After Care | Common Issues | Further Reading
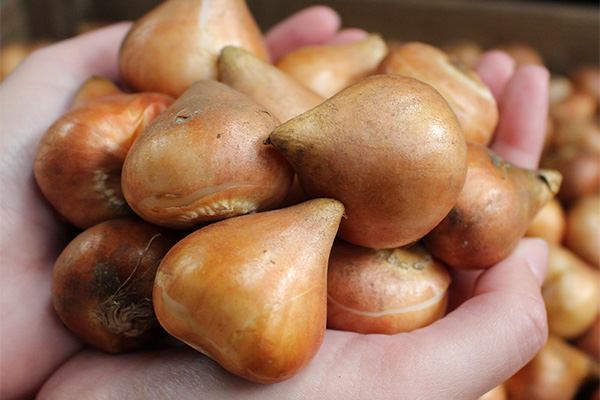
How Supplied
Our tulip bulbs will be delivered fresh and healthy. There should be firm, not soft. Some bulbs may arrive with slight mould patches, but this is completely normal and can be brushed off. If you suspect that your bulbs are faulty, do not hesitate to get in touch.
Once your bulbs arrive, take them out of their packaging and lay out in a box so they can breathe. Put into a paper or mesh bag for storing. This is so they don’t excessively sweat in their containers, ruining the bulbs.
When to Plant
For best results, plant your tulip bulbs from mid to late autumn. However, they can be planted successfully up to January, so if you forget to plant them then just get them in the ground as soon as you can.
Tulip bulbs happily thrive when planted throughout the autumn, however planting later in the season can stop the bulbs from catching diseases like tulip fire as the cold weather will kill fungal and viral diseases. If you receive your bulbs early in the season and prefer to plant them later, then store them in a cool dry place such as a shed or garage.
Most Tulip bulbs are extremely hardy and will survive the hardest of frosts once planted. If you live in colder climates and are still concerned, then place some mulch on the top of your soil to keep the bulbs warm through periods of particularly cold weather.
Where to Plant
Tulip bulbs can be planted in beds, borders, containers and patio pots. They are easy to grow and maintain, perfect for beginners! Position your tulip bulbs in areas that reach plenty of sunlight. As they are hardy bulbs, they originate from areas with dry summers and will thrive happily in direct sunlight if the soil is kept moist. If you worry about a lack of sunlight exposure in your garden, flowerpots can be incredibly helpful. Simply move them to wherever the sun is positioned!
How to Plant
Borders
1. Dig a hole that’s wide enough to fit the bulb comfortably, and at least 2-3 times the bulb’s depth. If planting in groups, dig a trench instead of individual holes at the same depth.
2. Add bonemeal and horticultural grit (or spent compost) to the bottom of the hole. This will help the bulbs to grow healthily.
3. Pop each bulb into their holes, pointed side up. Space each bulb twice its width apart.
4. Cover with soil and pat down.
Quick tips – When in doubt, plant deeper! This can help when growing taller tulips as it helps to anchor them into place without needing extra support as it grows.
Containers
Before planting your tulips in pots and containers, take the size of your container into consideration. Each bulb should have enough space to grow, especially since tulip foliage gets quite bushy, needing more space to stretch out.
Tulips also need a lot of drainage, so find a pot with a hole at the bottom. This will help drain the water from the soil, preventing bulb rot or waterlogging. You can even take it a step further by adding some stones to the base of the pot before adding your soil.
1. Fill the pot with any multi-purpose compost until you’ve reached its halfway point.
2. As a rule of thumb, tulips should be planted about 20cm from the top of the pot.
3. Place your bulbs on top of the soil, about 5cm apart.
4. Cover with the compost to the top of the pot. Break up any lumps as you go.
5. Gently press the soil so that it’s nice and flat.
6. Make sure you place your pot on feet to allow the moisture from the pot to escape.
Quick tips – For a full container display, plant two or even three layers of bulbs in one pot. This works well when growing both early, mid, and late varieties, as when one dies back, the other will then grow. This method is also known as a ‘bulb lasagne’. To plant, place a layer of early bloomers at the bottom, mid-flowering varieties in the middle, and later flowering tulips at the top. Give each layer 3-4 inches of space, covering with soil as you go.
Watch Our Videos On How to Plant Tulips
Watch: How to Plant Darwin Hybrid Tulips
Watch: How to Plant Dwarf Rockery/Botanical Tulips
Watch: How to Plant Lily Flowering Tulips
Watch: How to Plant Viridiflora Tulips
When will they Flower?
All tulip varieties fall under three flowering categories: Early, mid, and late.
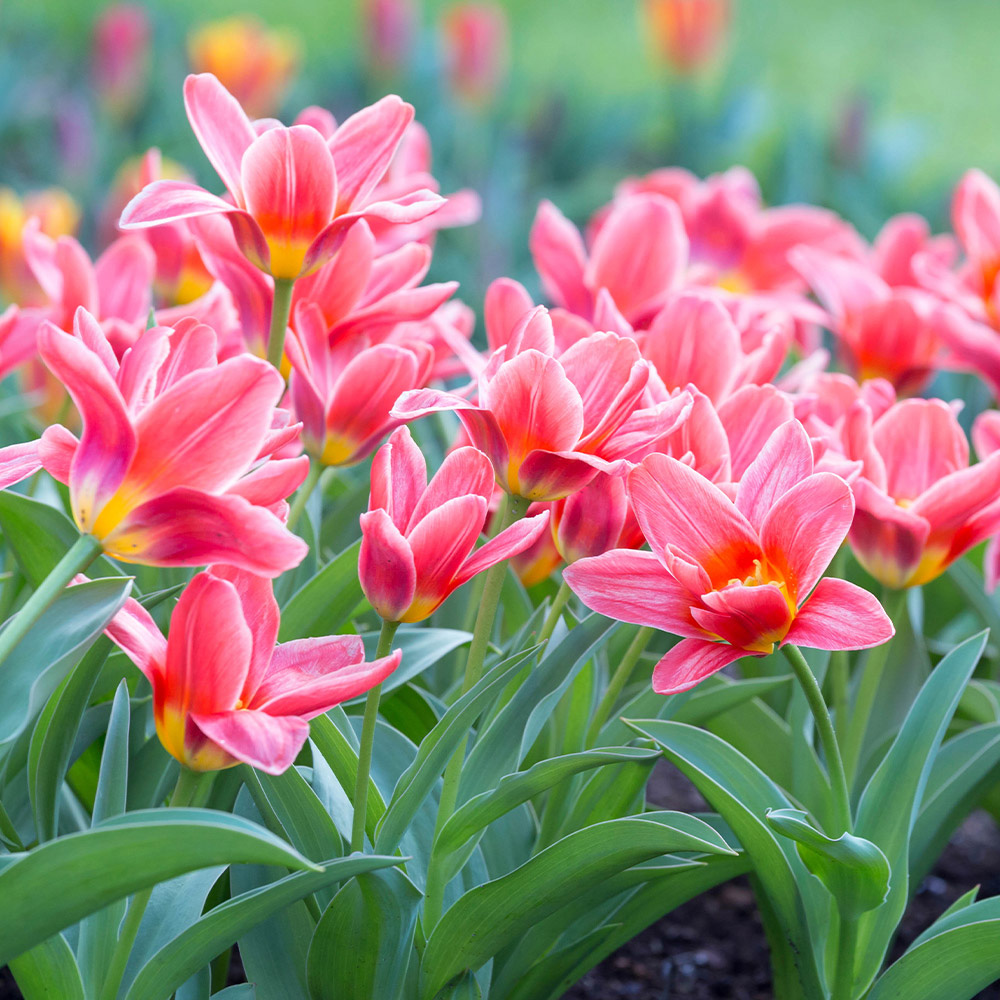
Early Tulips
Early tulips are, as the name suggests, the earliest varieties to appear in spring. You could enjoy their blooms from as early as March! These varieties usually flower through to April, giving you a good few weeks of colour. Single early and Double early varieties are great options for an early tulip display. Shorter stemmed Greigii and Kaufmanniana Tulips are also fantastic early flowered varieties.
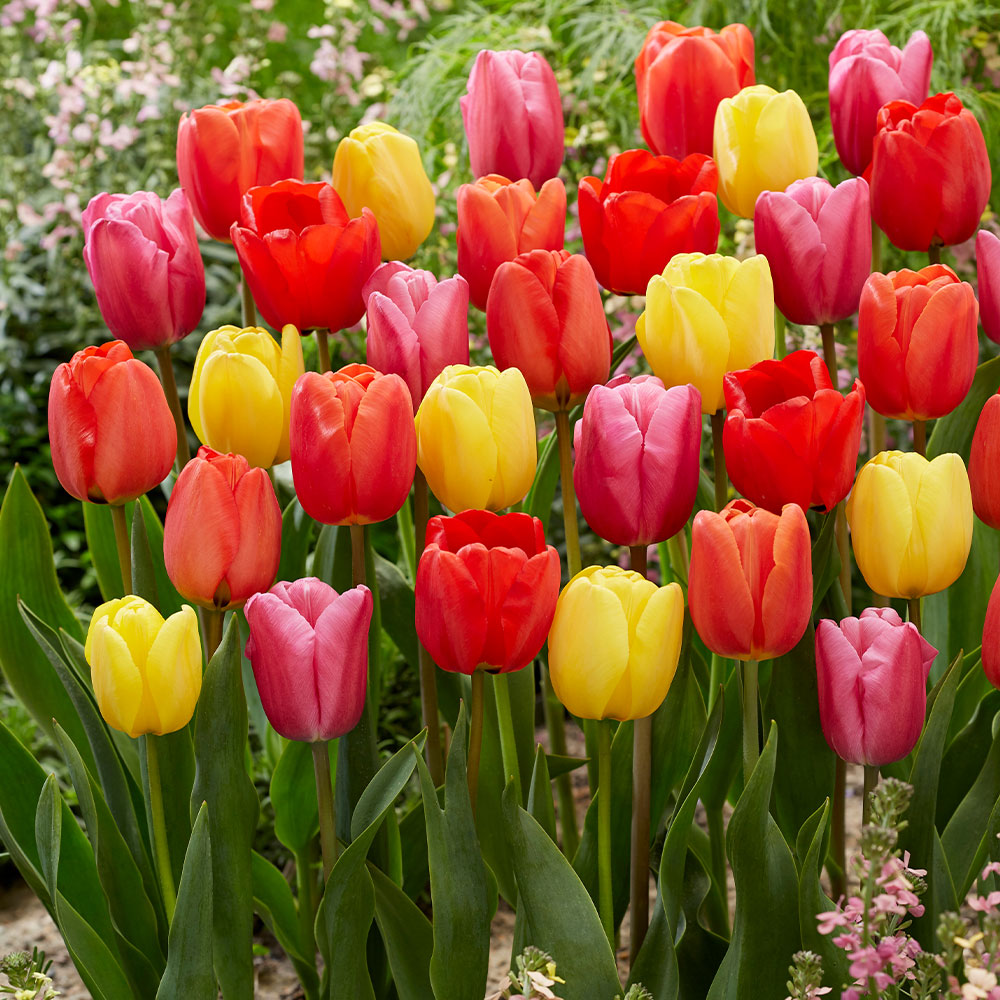
Mid-Season Tulips
Mid-season tulips are the middle child of tulip varieties. Although they should be planted at the same time as other cultivars, their blooms will appear throughout mid-spring. This is usually from early April to May. A few of our favourite mid-season varieties include the gorgeous triumph tulips and Darwin hybrids.
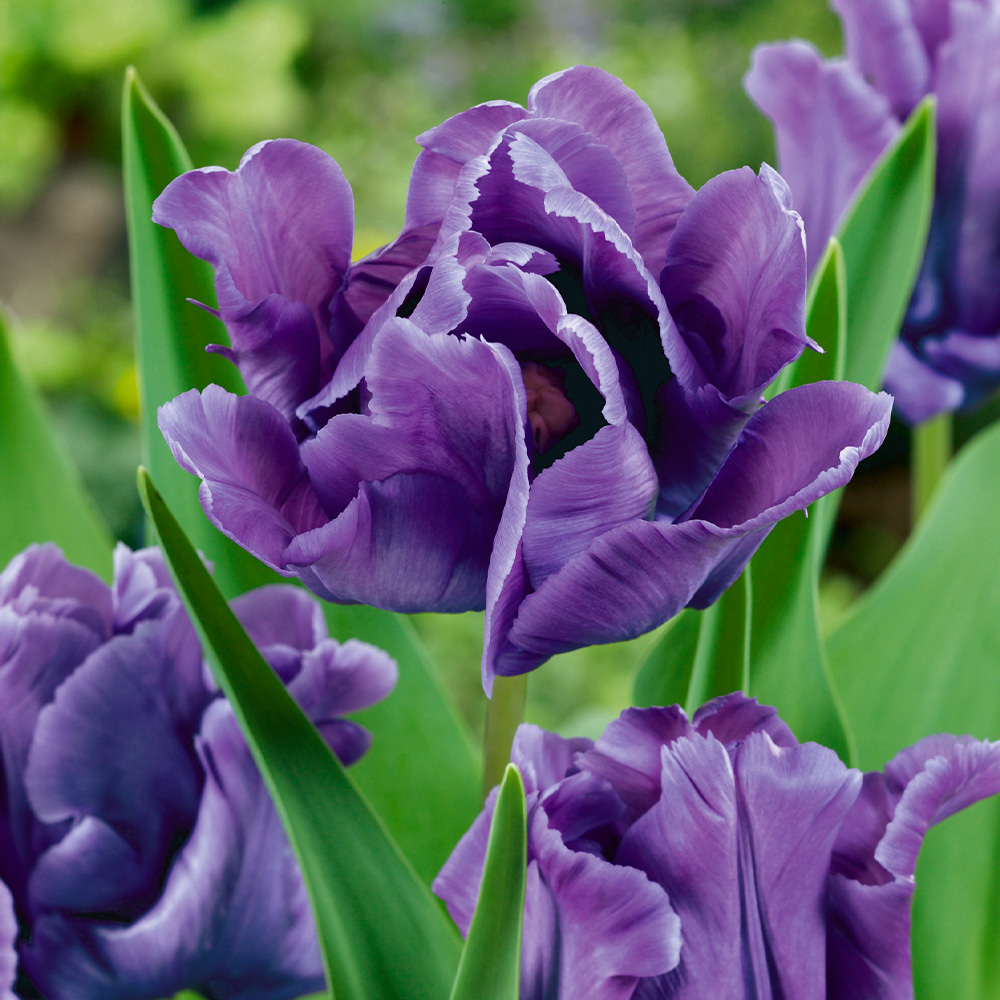
Late Tulips
Late tulips are perfect for connecting the spring garden to the early summer. These blooms will typically appear in late April, flowering through to May. Parrot tulips and lily-flowering varieties are the most notable of late bloomers, as well as the impressive double-late varieties that resemble peonies!
After Care
When to water
As long as the soil is moist, there’s no need to water your tulips too often. As the spring season in Britain is usually quite damp, the rain will water your tulips for you! If we’re having an abnormally dry season, then you can water them once a week.
How to protect your tulips from windy weather
Some tulips have strong stems and can withstand harsher winds. Unfortunately, this won’t be the case for all varieties, and you need to make sure you have a contingency plan in place for strong gales.
If you’re concerned about harsh winds and rainy weather, move your containers and pots closer to the house. This will give them slightly more shelter. The flowers from more compact, shorter varieties are generally more resilient to adverse weather, so bear this in mind when selecting your Tulip Bulbs.
What to do once they’ve finished blooming
Once your tulips have died down and its foliage has turned brown, it’s time to cut them back. This will usually happen by early summer. Leaving the plant to die back naturally allows the bulb to store more energy, providing you with blooms that thrive each year.
Deadheading
Deadheading can help redirect the bulb’s energy into creating a new flower once the other one has wilted. It also helps to keep the flower bed looking tidy and uniform whilst the others are still in bloom. Simply cut the spent flower with clean shears, just above the leaves.
Storage Tips
Lifting tulip bulbs can help them to reflower after their first season.
1. Wait until the plant has died down and has reached a straw colour (often brown).
2. Brush off any remnants of soil and dirt gently. If the bulb feels a bit squishy, it could be a sign of damage or disease and is best thrown away.
3. Leave the bulbs to dry thoroughly at room temperature. Their skin will feel papery when fully dried.
4. Once dried, keep them in trays or paper bags in a dry, warm room. This room should be around 18-20°C.
5. Replant in late autumn.
Common Issues and How to Solve Them
Tulips struggling to regrow after their first year
Sometimes, tulips can struggle to reappear after a few flowering seasons. This can happen for any number of reasons, like the soil is lacking in nutrients or they’re not reaching enough sun.
To avoid this, you can simply lift and throw them away, or store them to plant again next autumn (read storing section for more instruction). If you prefer to keep your tulips in the ground but notice they’re struggling, renourish them with a tomato-based fertilizer while in bloom. This will boost its nutrients and hopefully will encourage it to reflower the following spring.

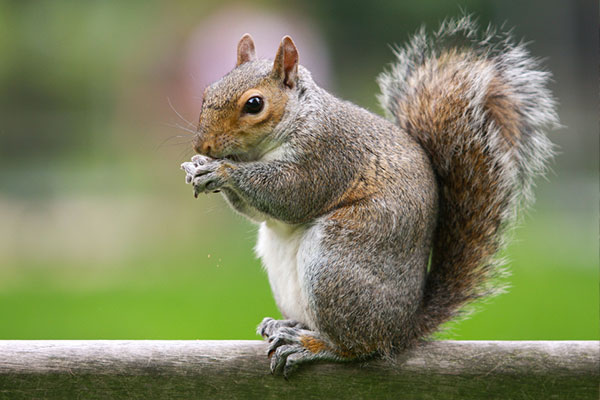
Grey Squirrels ruining your displays?
Grey squirrels love to dig up bulbs. In borders, plant your bulbs in an aquatic basket and cover them with chicken wire. In containers, simply cover with chicken wire. You can remove this wire once the plant emerges from the ground.
What to do if your tulips look diseased
If you spot any withered or brown spots on your tulips, it could be a sign of fungal diseases like tulip fire. You must destroy and dispose of any infected plants as soon as you notice.
Dispose of the soil that surrounded the bulb and avoid planting any more there for up to three years. Before planting any more bulbs, check they’re unblemished and aren’t soft in any areas. Plant later in the season so that the cold weather eradicates any diseases.

Want to Know even more about Tulips?
Take a look at our helpful blogs

Ready to Shop?
Find some inspiration for your garden