
Posted by Amber Williams on 8th Feb 2023
How to Chit Potatoes - Gardening for Beginners
If you're new to growing potatoes, then you might not know that the sprouting process is known as 'chitting'. Learning how to chit potatoes can help you grow them to perfection.
Here’s our helpful guide to chitting potatoes, and some handy tips to keep them in tip-top shape.
What does chitting potatoes mean?
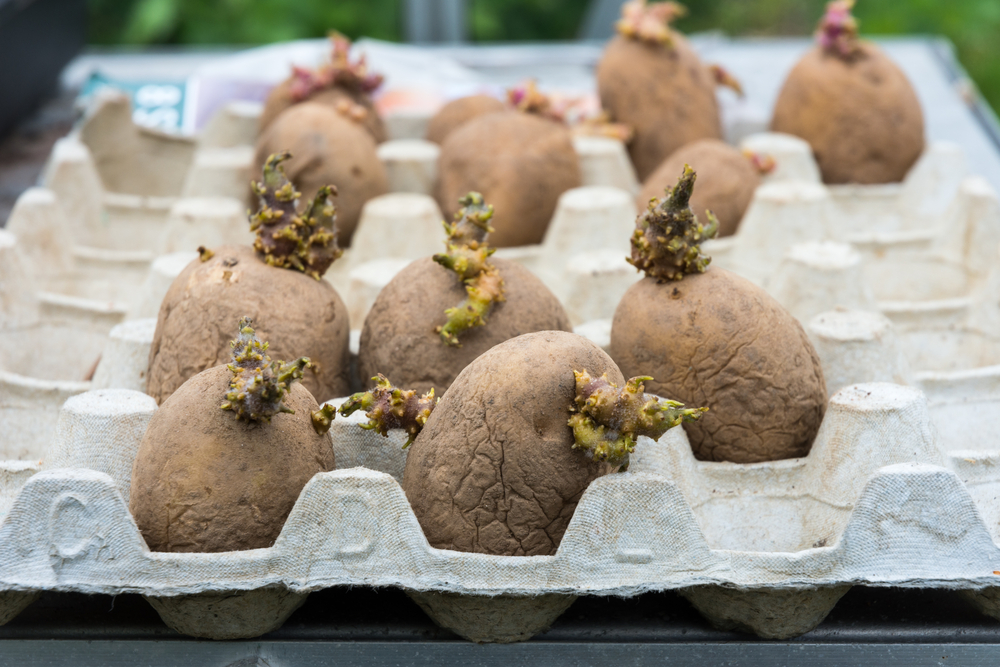
Chitting a potato simply means allowing your seed potatoes to sprout slightly before planting them outside. The sprouts can be as many as two or three per tuber.
The process is easy, and you need only an egg carton, several seed potatoes, and a somewhat sunlit place...
How to chit potatoes
Start the chitting process from early spring (January to February). This can be roughly six weeks before you plan on planting them out. Stand each tuber in trays or in an old egg box, keeping them somewhere cool and light. Don’t keep them in a shed or dark garage as they need sunlight to hasten the process. Too warm a room and they’ll also shrivel, so keep them somewhere lightly warm and sunny.
After about 6 weeks, your seed potatoes will have formed sprouts. They’re now ready to be planted outside, whether that be in the ground or in a grow bag!
First and second early potatoes should be chitted. However, it’s not necessary to chit main crop varieties, and they can be grown directly outdoors once the soil isn’t frozen.
How to grow potatoes in a vegetable patch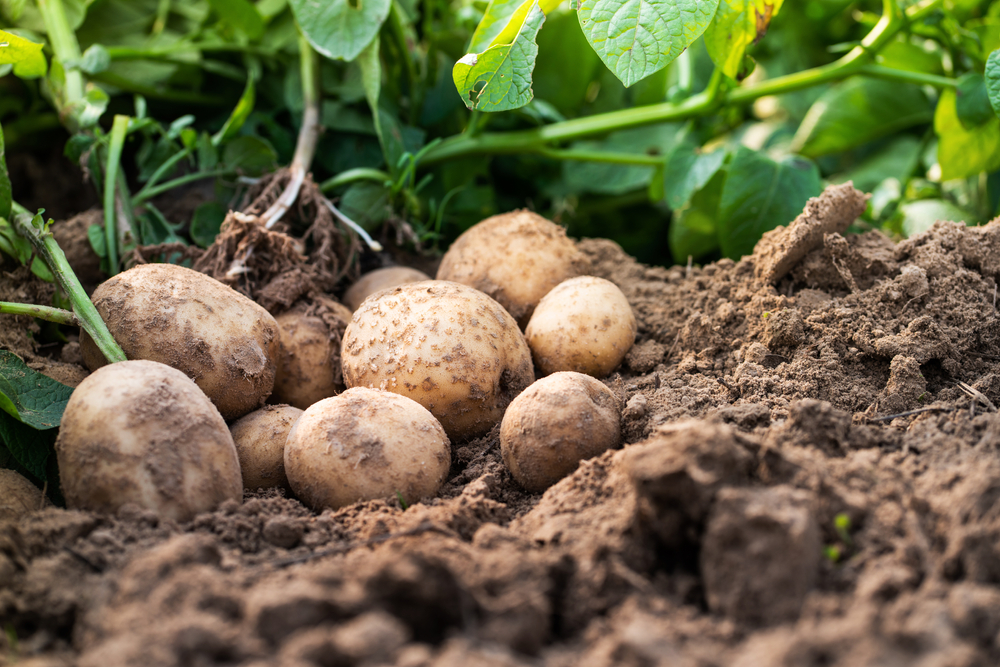
Potatoes are easy to grow and can be done in both a veggie patch or in a growing bag. In a well-manured spot, dig deep trenches in the soil (about 9 inches deep), spacing each tuber evenly apart. For first or second earlies, space them about a foot apart. Main crops need more space, roughly 18 inches apart.
Cover each tuber with soil about halfway. As the plant grows, continue to add soil to it. Eventually, your trench will have a mound and will be filled all the way, with the plants growing out of the ground in all their leafy glory.
Keep the soil well-watered throughout the season (but not waterlogged) and keep the soil weed-free at all times.
How to grow potatoes in bags and containers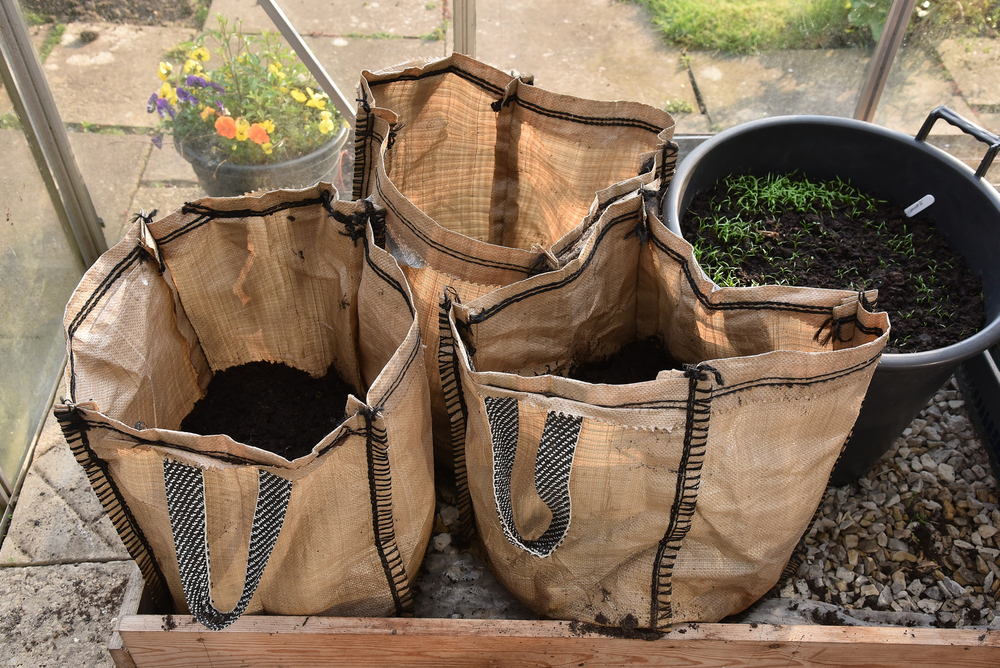
You can grow potatoes in any container when the ground is too cold. This could be either in a grow bag or container. Just ensure that whatever you choose, it has drainage holes at the bottom and won’t rip if you try to move it once it’s full of compost.
Fill it to about a third of the way with rich compost. Plant 1-2 potato tubers per bag/container. If you have just one per container, you’ll be rewarded with large potatoes. However, 2 will also be fine, if a bit smaller of a crop.
Some potato tubers may already have shoots. This will help speed up the process. Simply plant them directly into place. Gradually increase the amount of soil in the bag as the plant grows, covering it each time until the plant comes out the top and is nice and leafy.
When to Harvest Potatoes
There are 3 different types of potatoes. First earlies, second earlies, and main crop. These are named in order of when they can be harvested. First earlies are planted first, and so on. The harvest time will then differ based on the type of potato you’ve grown.
First and second early potatoes can be harvested 8-10 weeks after planting, whereas main crops may take 16 weeks before they’re ready to be harvested.